How to Make Idlis in a Pressure Cooker
Pressure cooker idlis are a popular breakfast dish in South Indian cuisine. They are soft and fluffy rice cakes made by steaming a fermented batter of ground rice and lentils. The traditional method of making soft idlis uses an idli steamer, which consists of a series of small idli moulds or plates on a stand. If you want to make idlis traditionally, pour the batter into the molds and steam it over a pot of boiling water. However, in recent times, pressure cookers have become a popular tool for making idlis as they allow you to cook spongy idlis faster and with less effort. To make the perfect pressure cooker idlis, you will need idli rice, black lentils, fenugreek seeds, and salt. You will also need an idli mold or plate, an electric pressure cooker or stove-top pressure cooker, and a little water.
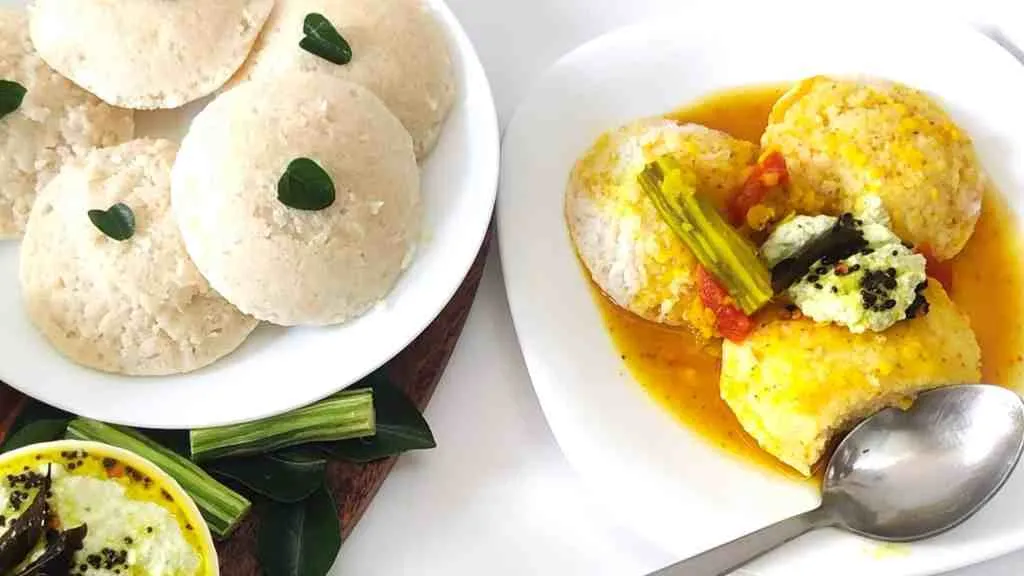
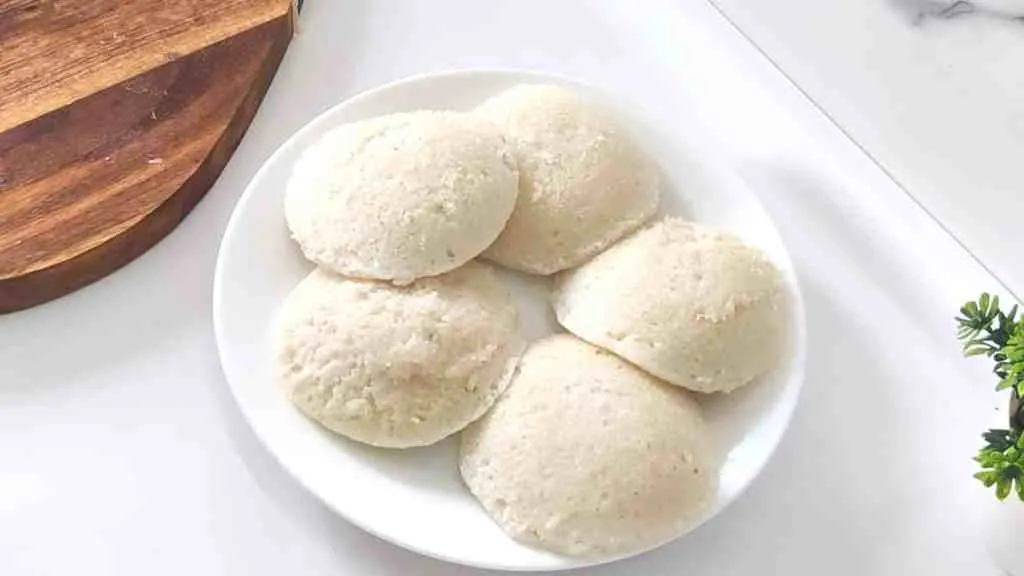
Pressure cooker idlis are a popular breakfast dish in South Indian cuisine. They are soft, spongy, and fluffy rice cakes made by steaming a fermented batter of ground rice and lentils. In recent times, pressure cookers have become a popular tool for making idlis as they allow you to cook the idlis faster and with less effort.
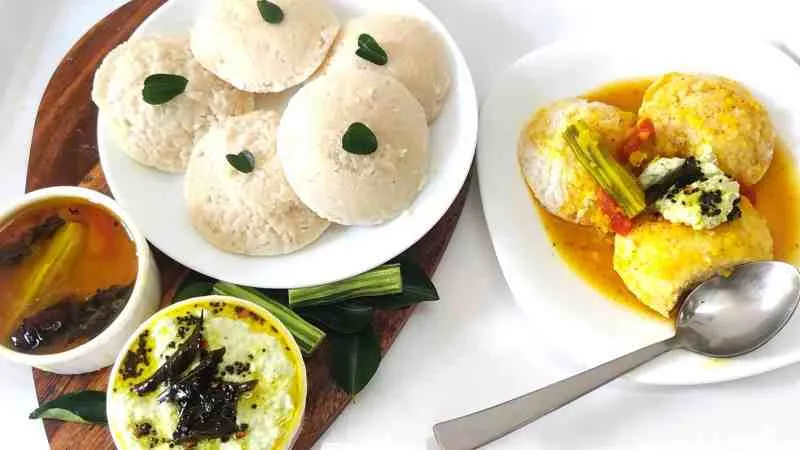
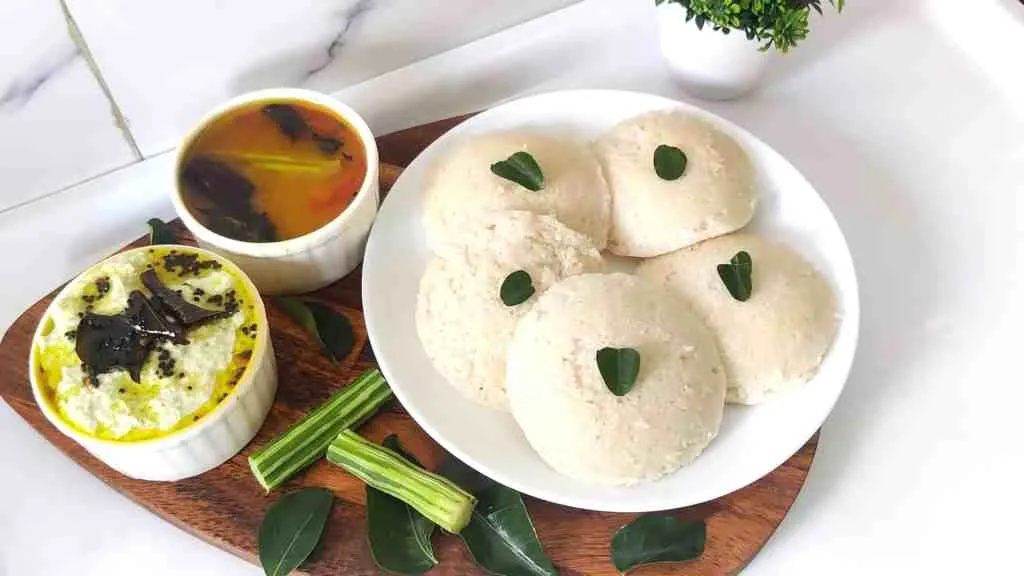
Idlis pair perfectly with coconut chutney and hot sambar. You can also serve them with other accompaniments, such as peanut chutney or even lemon juice and powdered spices. Idlis are a staple in South Indian households and are common as a breakfast or as a snack. This savory rice cake is a healthy and nutritious meal as it consists of rice and lentils. It is a great source of protein and other essential nutrients.
Idlis are also an important part of the cultural and culinary heritage of South India. You can often spot them during special occasions and festivals, and they are a popular choice for breakfast or lunch in South Indian restaurants. People of all ages enjoy idlis, as they are a comfort food in many South Indian homes.
You need some preparation and time to make idlis at home, as the batter needs to ferment for several hours or overnight. However, the effort is well worth it, as homemade idlis are much fresher and tastier than store-bought ones. If you are new to making idlis, you can find many recipe cards and video recipes online to guide you through the process, like this simple recipe. Just be sure to follow the instructions carefully and pay attention to the consistency of the batter, as this is key to making perfect idlis.
History of Pressure Cooker Idlis
Idli is a traditional South Indian breakfast dish that has been enjoyed for centuries. The exact origin of idli is unclear, but it is believed to have been consumed in South India for thousands of years. They appear in ancient Tamil literature, and many parts of South India consider idli a staple food.
In the past, idlis were traditionally made using a large, cylindrical wet grinder made of stone. The rice and lentils were soaked and ground into a smooth batter using this grinder, which was turned by hand. The ground batter was then left to ferment in a warm place, after which it was poured into the idli molds and steamed over a pot of boiling water.
Over time, the method of making idlis has evolved, and many modern tools and appliances have been introduced to make the process easier and faster. For example, you can now use electric wet grinders, idli makers, and pressure cookers to make idlis. These tools allow you to grind the batter and cook the idlis in a fraction of the time it would take using the traditional method.
If you have never tried idlis before, I highly recommend giving them a try. They are delicious and nourishing, and they are sure to become a favorite in your home too.
Ingredients List For Pressure Cooker Idli
Rice
This is the main ingredient for pressure cooker idli and contributes to the soft, fluffy texture. I would only recommend using idli rice, which can be purchased in Indian grocery stores.
Split black lentils (urad dal)
This ingredient gives the idlis a slightly nutty flavor and helps to bind the mixture together.
Fenugreek seeds (methi seeds)
These seeds add a subtle, earthy flavor to the idlis and also help with the fermentation process.
Salt
This ingredient adds flavor to the idlis.
Water
Use water to soak the rice and lentils and also to grind the mixture into a smooth batter. It is important to use clean non-chlorinated water.
Ghee or coconut oil
Grease the idli molds with ghee or coconut oil and it also gives the idlis a rich, savory flavor.
Curry leaves
These leaves add a fresh, aromatic flavor to the idlis and are often used as a garnish.
Yeast
Dry active yeast may be needed if you live in cold climates. The rice and dal have plenty of wild yeasts on them already, but they need warmth to work. If you live in a cooler climate, dry active yeast will do the job without significant warmth.
Step By Step Cooking Instructions
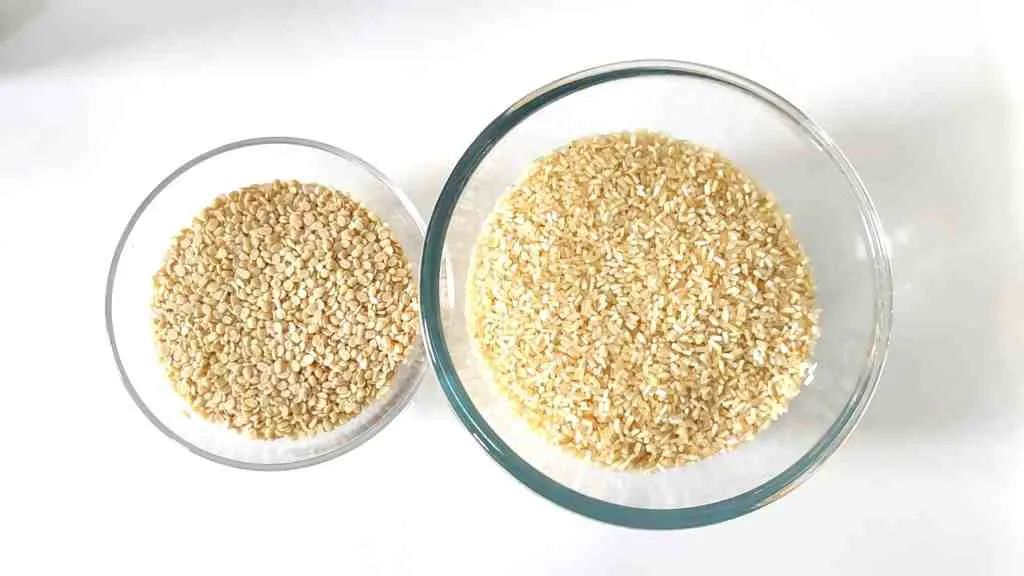
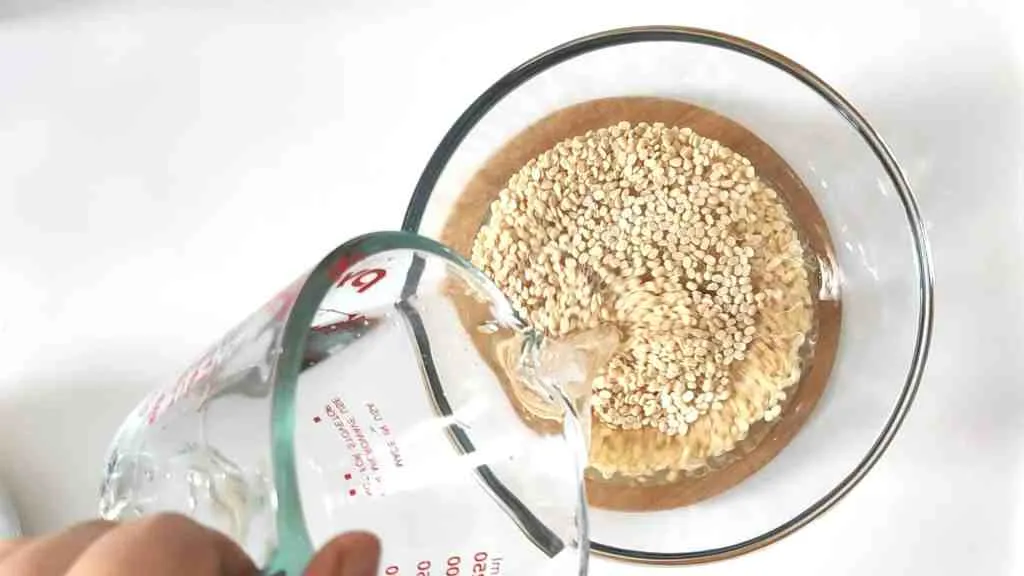
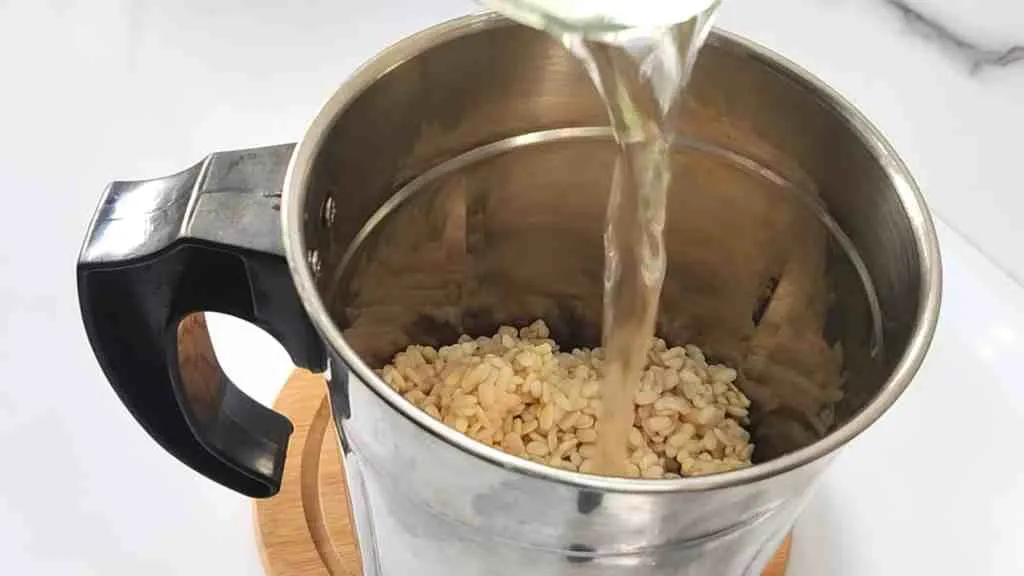
Soak 1 cup of urad dal for 2 hours.
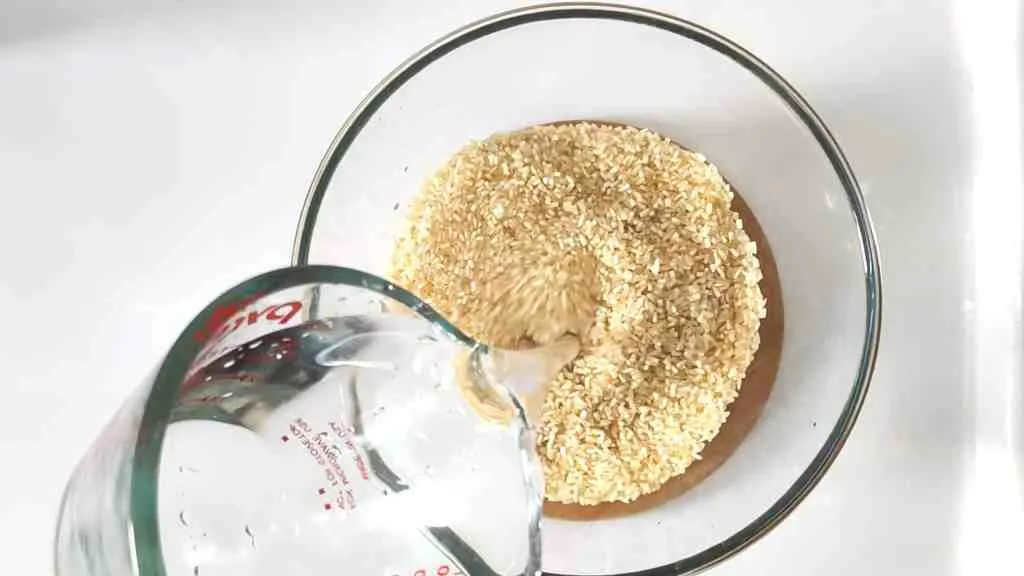
Soak 2 cups of idli rice (or any short grain rice) for 3-4 hours. You can also add ¼ teaspoon of fenugreek to this mix, which will aid in fermentation.
Drain the water from the urad dal and transfer it to a grinder.
Grind the dal until it turns into a soft and fluffy batter, adding water as necessary (usually around ¼ cup).
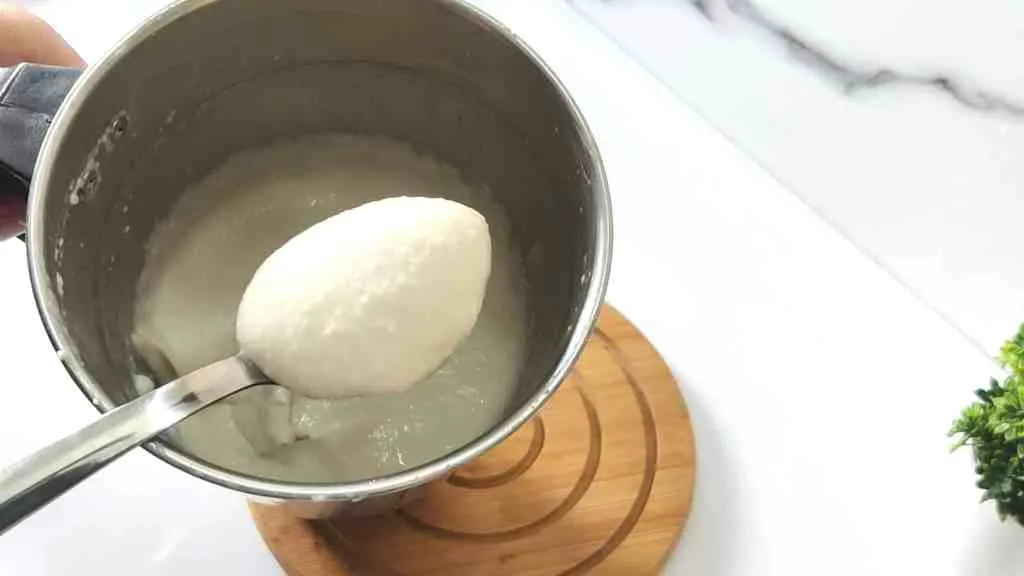
Transfer the dal batter to a large vessel and set it aside.
Grind the soaked rice in the same grinder, adding water as needed (around ½ cup).
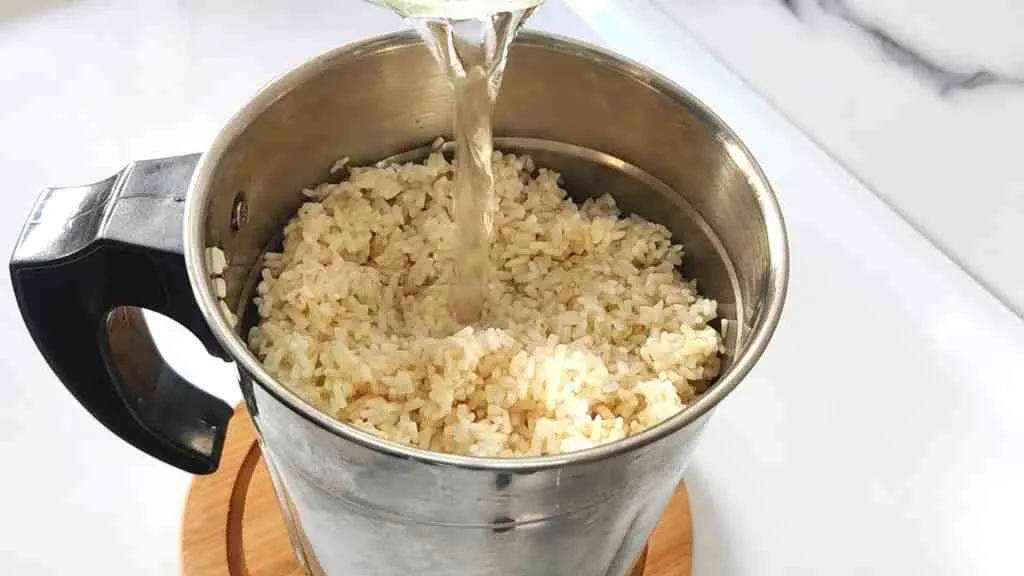
Grind the rice into a coarse paste.
Transfer the rice batter to the same vessel as the dal batter.
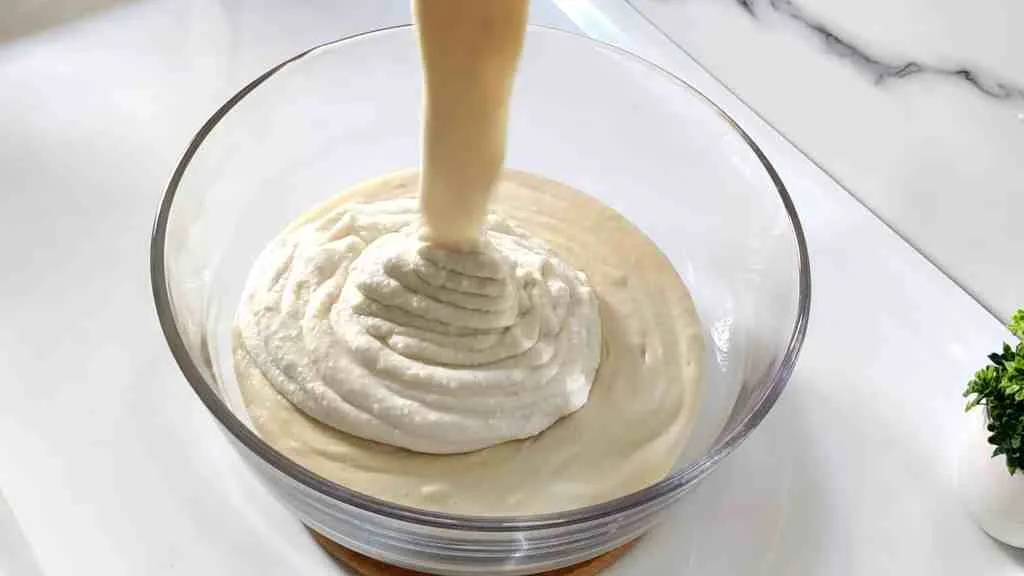
Mix the two batters well (mixing by hand can help with fermentation).
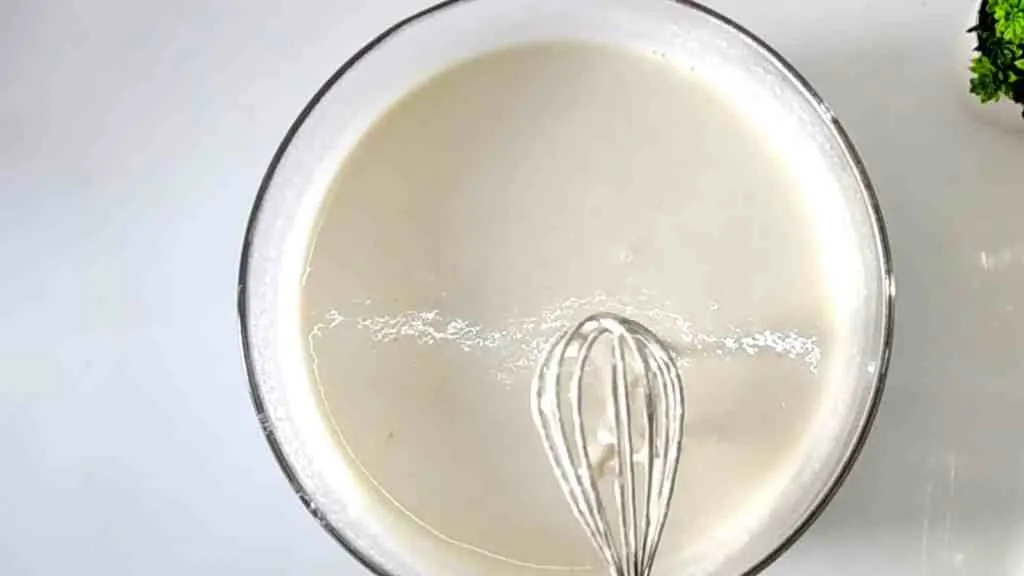
Cover the vessel and let the batter ferment in a warm place for 6-8 hours. If you are in a cool place, you may need to add 1/2 tsp of active dry yeast to aid in the fermentation. The rice and dal have plenty of wild yeasts on them already, but they need warmth to work.
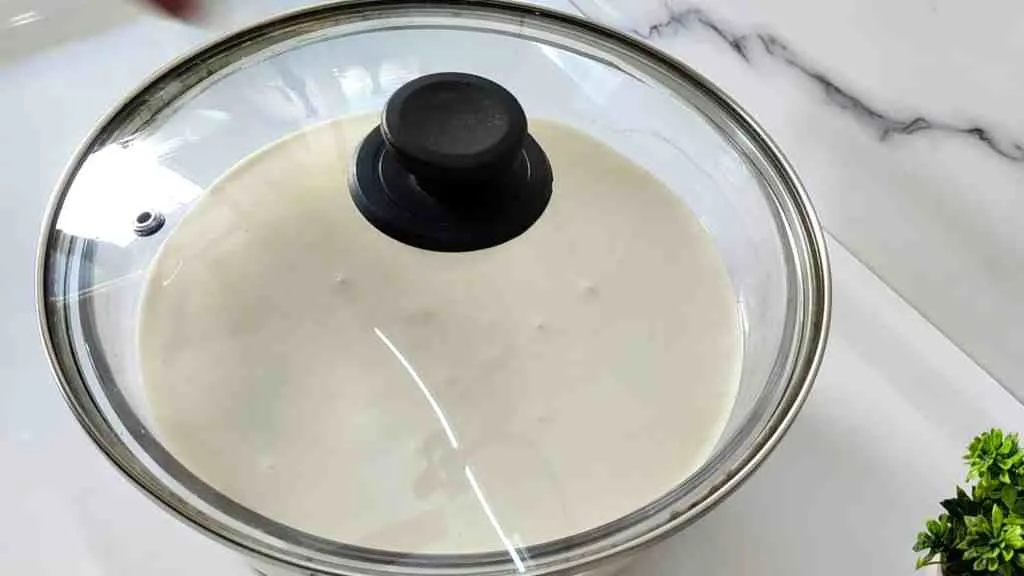
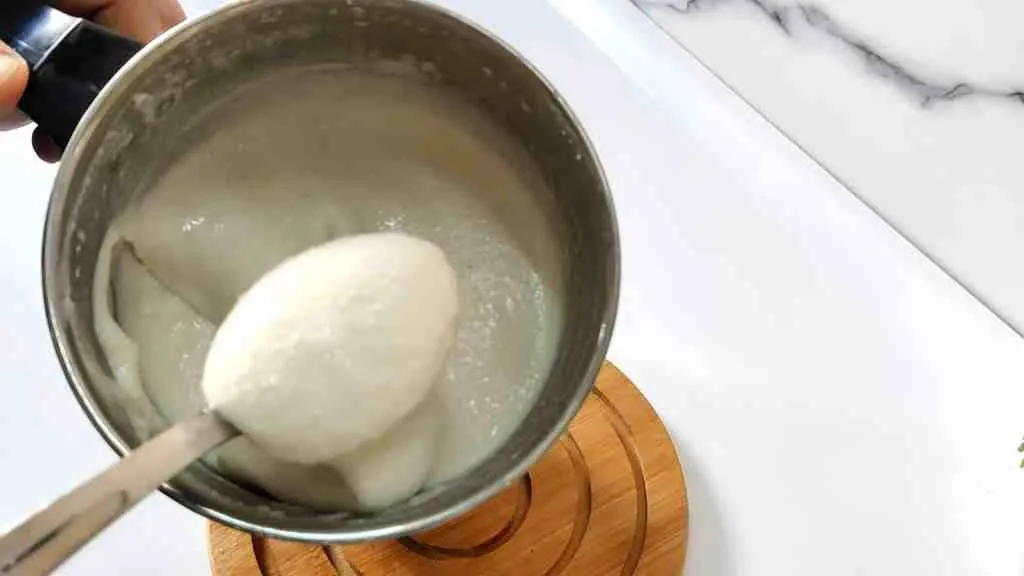
The batter is well fermented when it has doubled in volume.
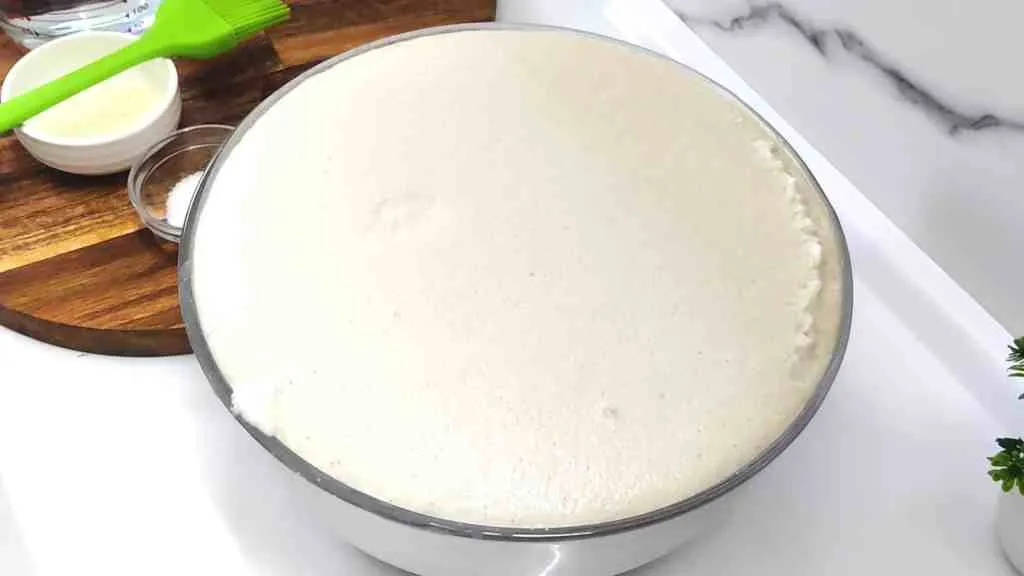
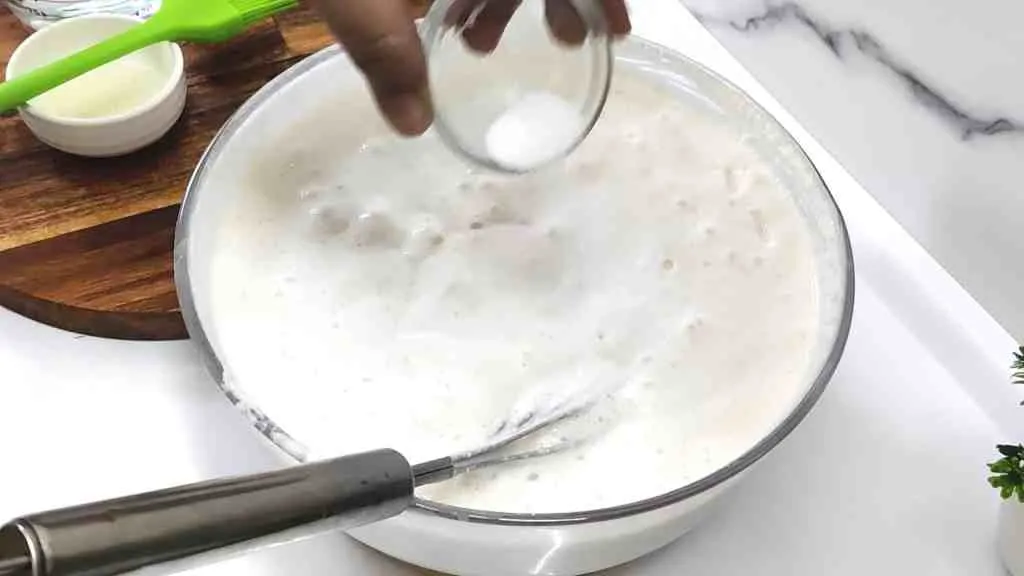
Gently mix the batter, taking care not to disturb the air pockets.

Add 1 teaspoon of salt to the batter and mix well, being careful not to over-mix.
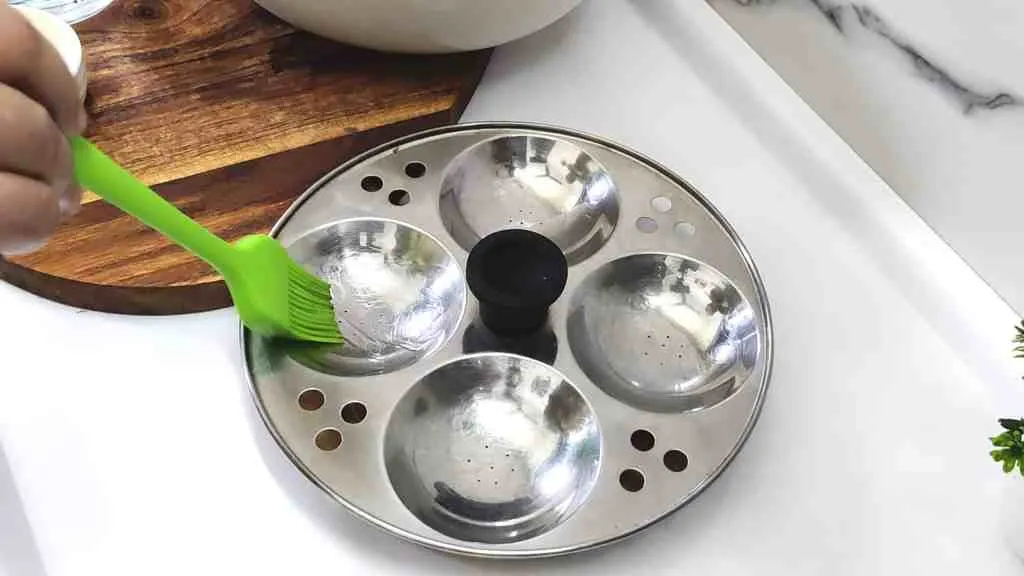
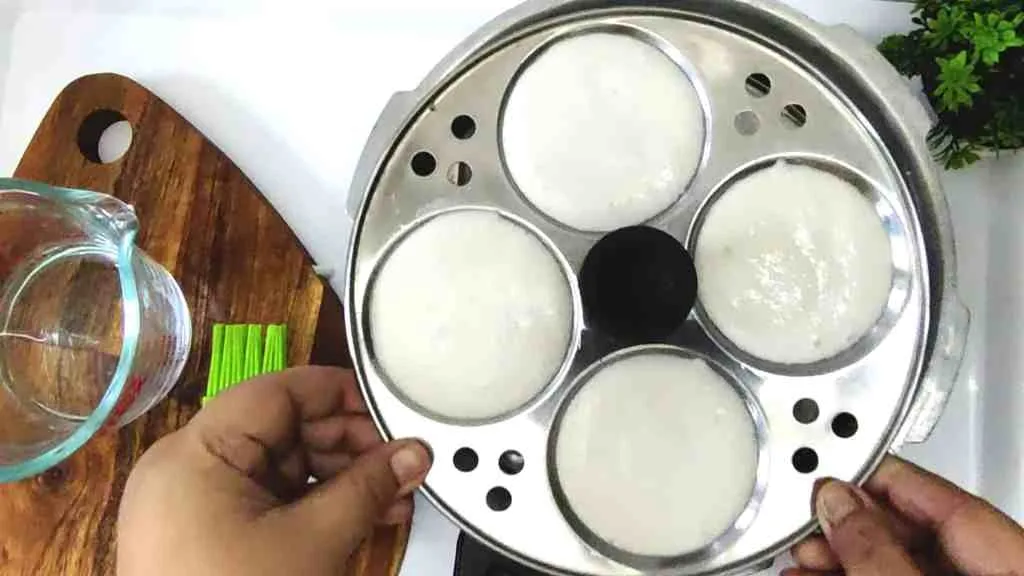
Grease an idli mould or plate with coconut oil.
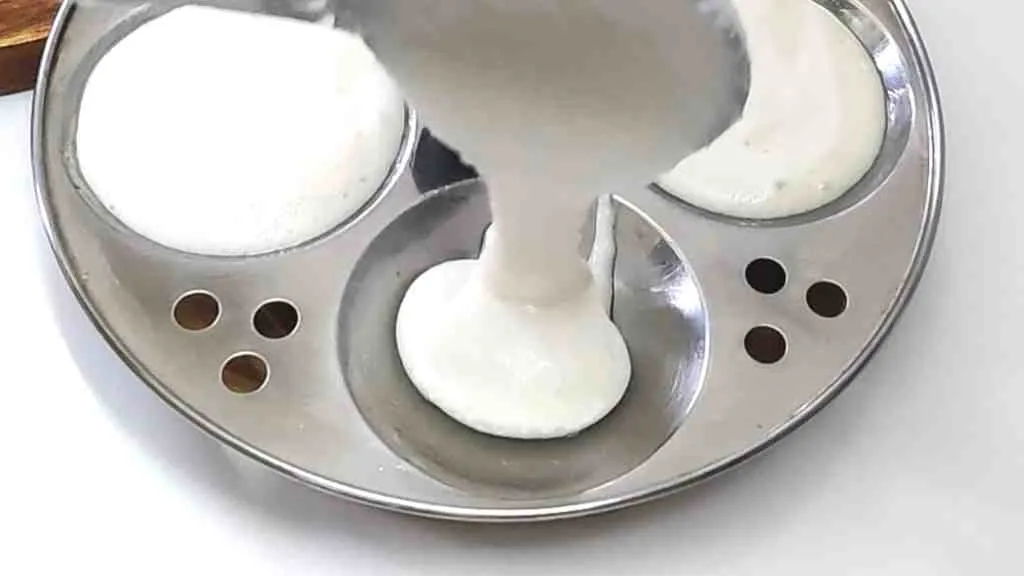
Now pour the batter into the greased idli plates.
Pour ½-1 cup of water in a pressure cooker.
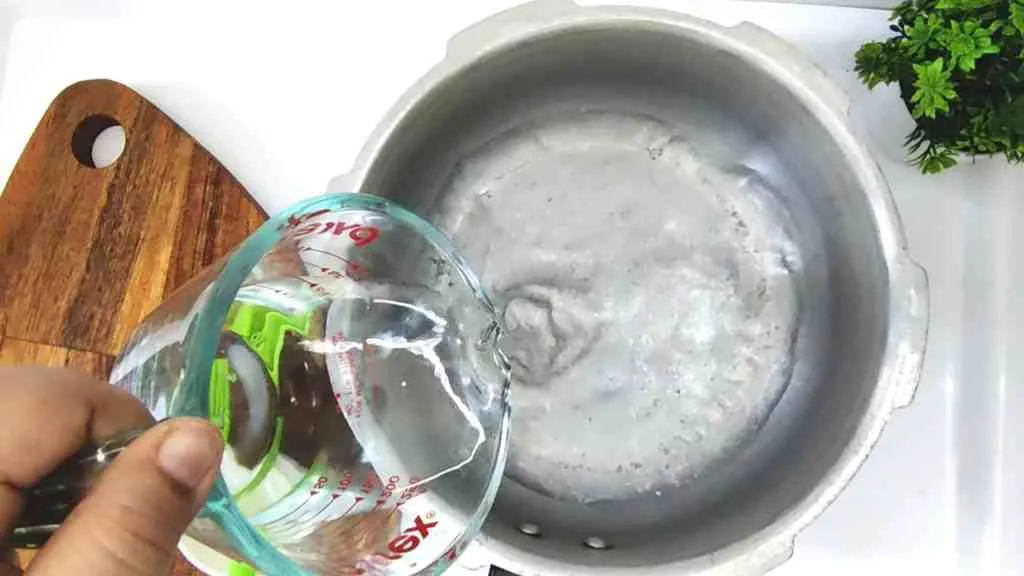
Then place the mould or plate in a pressure cooker.
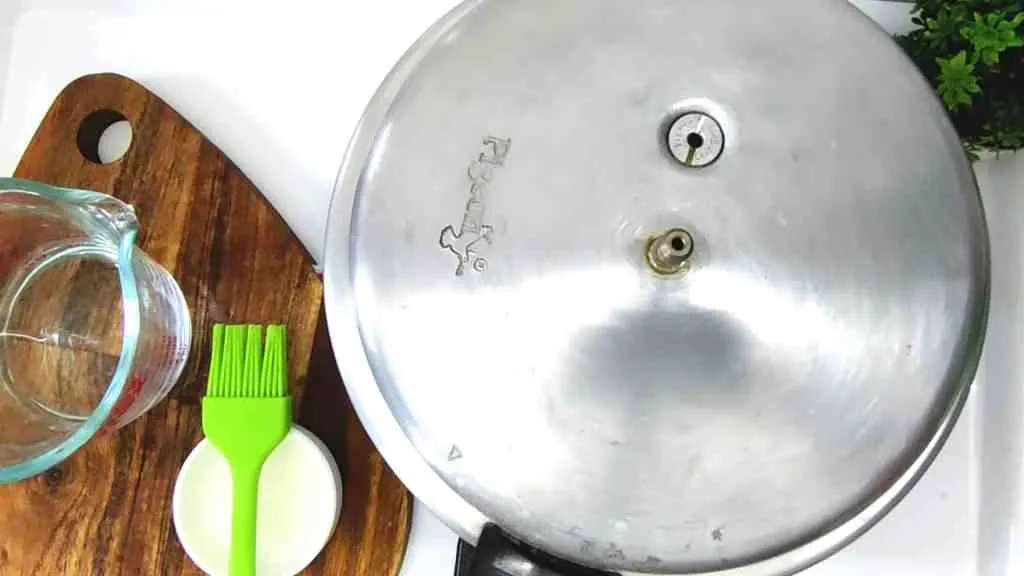
Cook the idlis for 12-20 minutes, making sure not to put the weight on the pressure cooker whistle. Allow the steam to naturally release.
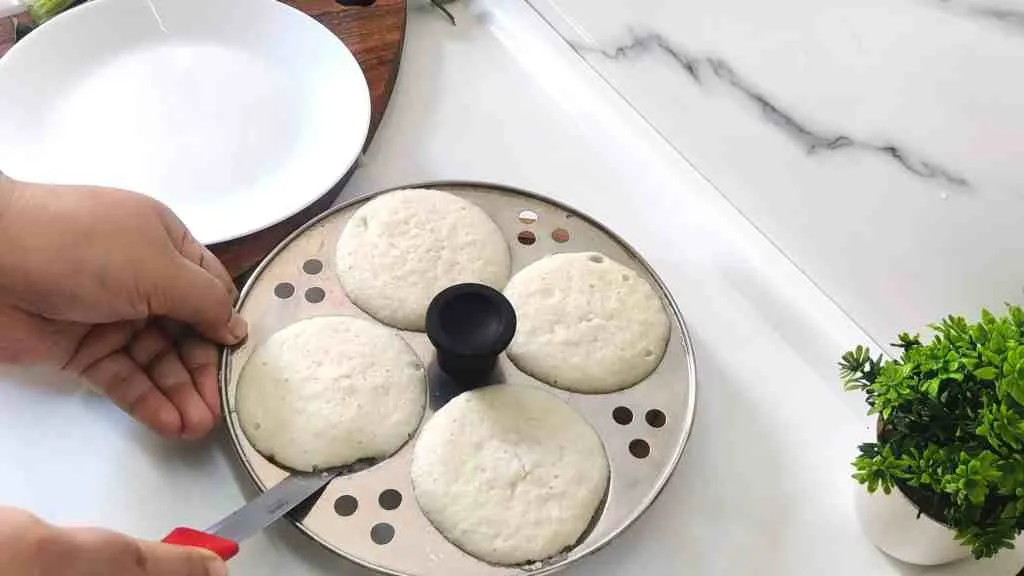
Check if the idlis are fully cooked by inserting a toothpick, If it comes out clean, scrape the idlis with a spoon or a knife.
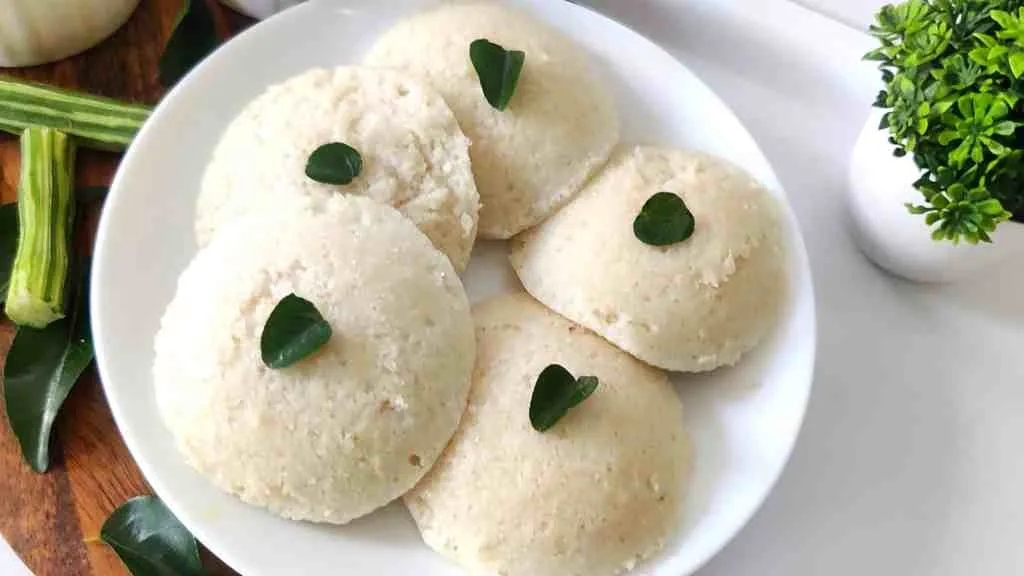
Now enjoy your idlis with coconut chutney and sambar.
Serving Suggestions
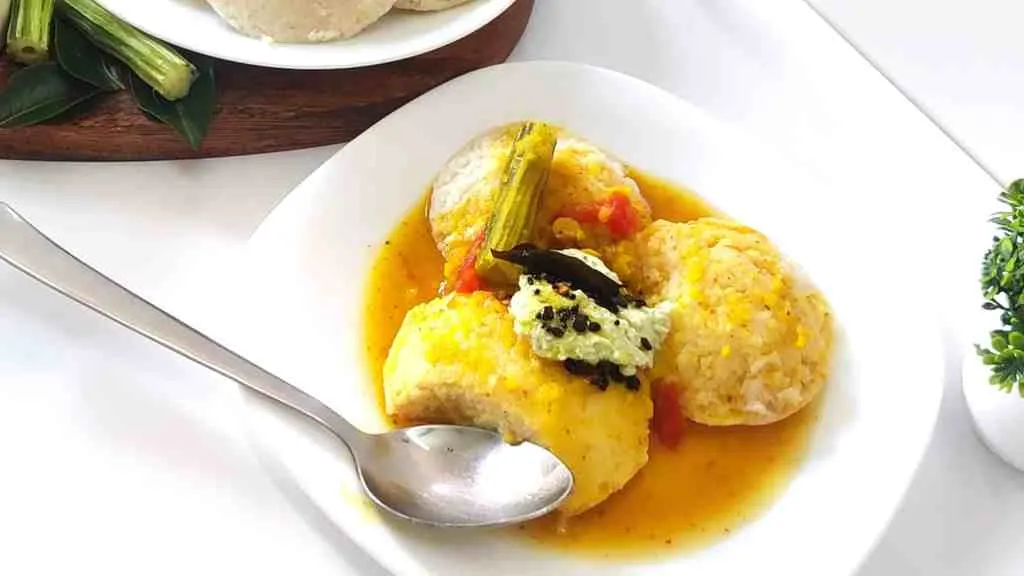
Serve the idlis with a side of spicy coconut chutney for a tangy and flavorful accompaniment.
Pair the idlis with a bowl of savory sambar, a lentil-based vegetable stew, or with traditional dal fry for a hearty and satisfying meal.
Garnish the idlis with some fresh herbs, such as coriander leaves or curry leaves, for a pop of color and flavor.
Serve the idlis with a side of plain yogurt for a cooling and refreshing contrast to the spicy flavors.
Sprinkle some roasted spices, such as cumin seeds or mustard seeds, over the idlis for added flavor and aroma.
Garnish the idlis with a drizzle of ghee for a rich and indulgent touch.
Enjoy the idlis as a snack or appetizer, perhaps with a side of peanut chutney or tomato chutney.
Use the idlis as a base for other dishes, such as idli sandwiches or idli chaat, by topping them with a variety of flavorful ingredients.
If you have left-over idlis, you can make fried idlis or masala idlis for breakfast!
Storage Suggestions
Allow the idlis to cool completely before storing them.
Place the pressure cooker idlis in an airtight container or wrap them tightly in plastic wrap.
If you have made a large batch of idlis, you can store them in the refrigerator for up to 3-4 days.
You can also freeze the idlis for longer storage. To do this, place the idlis in a single layer on a baking sheet and freeze until solid. Once frozen, transfer the idlis to a resealable plastic bag or an airtight container and return them to the freezer. Frozen idlis will keep for up to 3 months.
To reheat the idlis, place them in a microwave-safe dish and microwave on high for 30-60 seconds, or until heated through. You can also steam the idlis in an idli steamer or on a stovetop until they are warm and soft.
If the idlis have become dry or hard, you can sprinkle a little water over them before reheating to help them become soft and fluffy again.
Serve the idlis warm, with your choice of accompaniments such as chutney, sambar, or yogurt.
Frequently Asked Questions
How do I make idlis at home?
To make idlis at home, you will need to prepare a homemade idli dosa batter using a combination of rice and split black lentils (urad dal). The batter should be ground to a smooth and fluffy consistency using a wet grinder or a blender, and then allowed to ferment for 6-12 hours. Once fermented, the batter can be steamed in an idli steamer or an electric pressure cooker until cooked through.
Can I make idlis in an instant pot?
Yes, you can make idlis in an instant pot by using the pressure cooker or steam mode. To do this, you will need to follow a recipe specifically designed for making idlis in an instant pot. Some key considerations when making idlis in an instant pot include the ratio of dal to rice in the batter, the consistency of the batter, and the cooking time and temperature.
How do I get a soft idli batter?
To get a soft idli batter, you will need to use the right type of rice and lentils, and grind them to a smooth and fluffy consistency using a wet grinder or a blender. You will also need to pay attention to the consistency of the batter and add enough water to get a smooth and pourable consistency. Finally, be sure to allow the batter to ferment for the correct amount of time in a warm place to help it rise and become fluffy.
What is the best type of rice to use for idlis?
The best type of rice to use for idlis is short-grain rice, such as idli rice or parboiled rice. These types of rice have a high starch content, which helps to create a soft and fluffy texture in the idlis.
Can I use a blender to grind the batter for idlis?
Yes, you can use a blender to grind the batter for idlis, although the texture may not be as smooth as if you use a wet grinder.
Recipe
Pressure Cooker Idli Recipe
Soft, fluffy idlis steamed in a regular pressure cooker, a foolproof everyday method.
- Prep
- 60min
- Cook
- 20min
- Total
- 70min
- Servings
- 4servings
- Calories
- 300kcal
Ingredients
- 1 cup urad dal
- 2 cup idli rice or any short-grain rice
- ¼ teaspoon fenugreek optional
- 1 tsp salt
- 3/4 cup water for grinding
- 1/2 tsp active dry yeast if you live in a cool climate
- ½-1 cup water for cooking idli
- Coconut oil as required for greasing
Instructions
- 1 Soak 1 cup urad dal for 2 hours. Also, soak 2 cup idli rice or any short grain rice for 3- 4 hours. You can also add ¼ teaspoon fenugreek to this mix which will aid in fermentation.
- 2 After 2 hours, drain off the water and transfer urad dal to the grinder and grind until the batter turns soft and fluffy. Add water as necessary, usually around ¼ cup water. Transfer the batter to a large vessel and keep it aside.
- 3 In the same grinder add soaked rice and grind to a coarse paste adding water as required.(1/2 cup water)
- 4 Transfer the rice batter to the same vessel. Mix well (mixing the batter with hand helps to aid fermentation).
- 5 Cover and ferment in a warm place for 6-8 hours. If you are in a cool place, you may need to add 1/2 tsp of active dry yeast to aid in the fermentation.
- 6 The batter is well fermented when it has doubled in volume, mix the batter gently, without disturbing the air pockets.
- 7 Add 1 tsp salt and mix well, do not over mix.
- 8 Grease the idli mould or plate with coconut oil and pour the batter.
- 9 Cook the idli for 12-20 minutes in a pressure cooker, with ½-1 cup water. Do not place the weight on the pressure cooker whistle. You want the steam to naturally release.
- 10 Cook until the toothpick inserted comes out clean. Enjoy soft idli with coconut chutney and sambar