Paper Dosa Recipe (Step by Step Guide)
Who doesn’t love dosa? I mean, what is there not to love? Crispy dosas with potato masala, flavorful coconut chutney, and tangy sambar… I’m describing pure gustatory joy! This paper dosa recipe will liven up any South Indian meal.
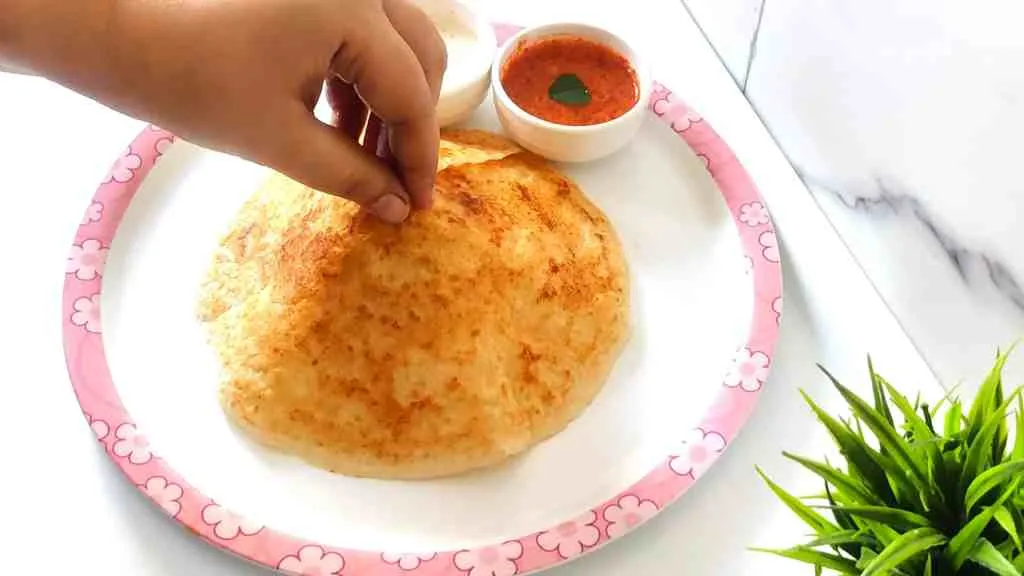
Paper dosa recipe
There are so many different ways of making dosa. Some dosas are soft, some are very crispy, some are folded like an omelet, and some are presented in a cone. Some dosas are paper thin, while others are stuffed with potato masala. Whatever shape or size a dosa takes, it tastes heavenly.
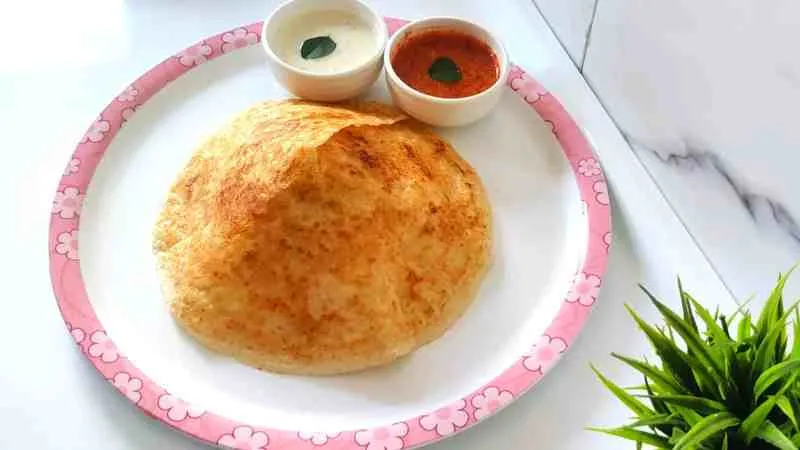
Paper Dosa Recipe
Today, I am going to share with you a crispy paper dosa recipe. These dosas are commonly made at restaurants, served paper thin and with a selection of chutneys. These amazing crispy dosas are so buttery and tasty. There truly is an art to making a thin crispy dosa. Attempts at home often result in soft soggy dosa that fails to impress.
In today’s recipe, I will provide you with a step-by-step guide to mastering the techniques of making this paper-thin dosa at home.
What is a paper dosa made of?
A paper dosa is a thin dosa made out of a smooth batter or a smooth paste of idli rice and urad dal (skinned and split black lentils). The key to making this tasty paper dosa lies in a well-fermented dosa batter that is spread in a circular motion on a perfectly managed tawa or pan to achieve a perfect thin dosa. With variations, you can make a ghee-roast dosa, a masala paper dosa, cheese dosa, egg dosa… all with the same fermented batter.
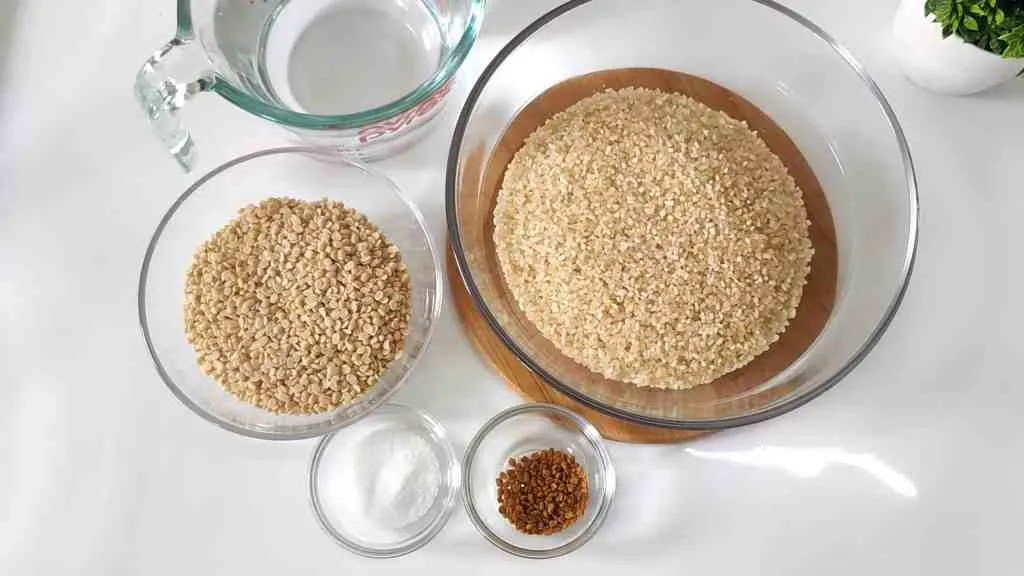
Paper Dosa ingredients
Rice
Only use short grain parboiled rice such as idli rice. This is important if you want the best and crispiest result.
Urad Dal
Split or whole urad dal can be used. Make sure is skinned though. Your dal should have a pale light color.
Fenugreek
Fenugreek seeds offer a very subtle flavor profile change and aid in the fermentation of your batter
Water
Only used non-chlorinated water. I use reverse osmosis water with added minerals, but any clean water source without chlorine will work.
Yogurt
Yogurt will be the source of your microbes for your first batch of dosa batter. If you are making back to back batches, then you can use batter from the previous batch as your starter.
Salt
Salting the batter greatly improves the flavor and also favors lactic acid bacterial fermentation over yeast fermentation.
Ghee or Coconut oil
Use a high smoke point coconut oil, or even better, ghee to grease your pan and drizzle over the dosa while it cooks.
Step-by-step Photos and Directions for Making Paper Dosa.
Soaking the dal and rice
The first step in making the dosa batter is to rinse your rice and urad dal thoroughly until the fresh water runs clear.
Now take 2 cups of idli rice and soak it in enough water to completely submerge the rice.
Then take ½ cup urad dal, 1 tsp non-iodized salt, and ½ tsp of fenugreek seeds or methi seeds and add them to the rice mixture.
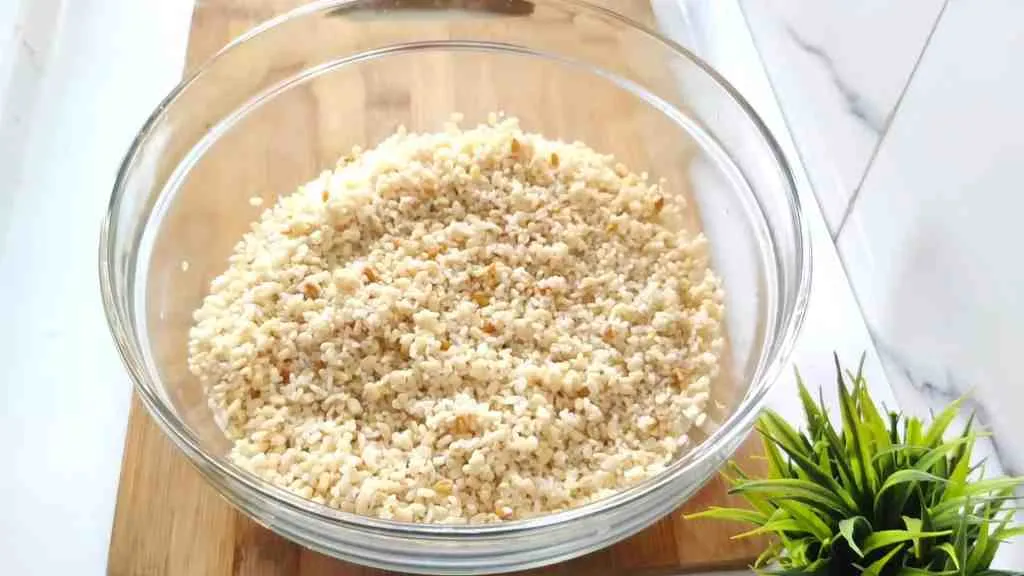
Soaked ingredients
Let your rice and lentils soak for almost 5-6 hours or overnight for better results. Make sure the water covers the grains, even after they swell and suck up the water.
Making the Batter
Add the soaked grains into a grinder jar, blender, or wet grinder. If you are using a blender, begin blending and add cold water until you get a small funnel in the center of the batter. Do not add water past this point or your batter will be too thin.
If you are using a wet grinder then just add enough water to produce a fluffy smooth batter.
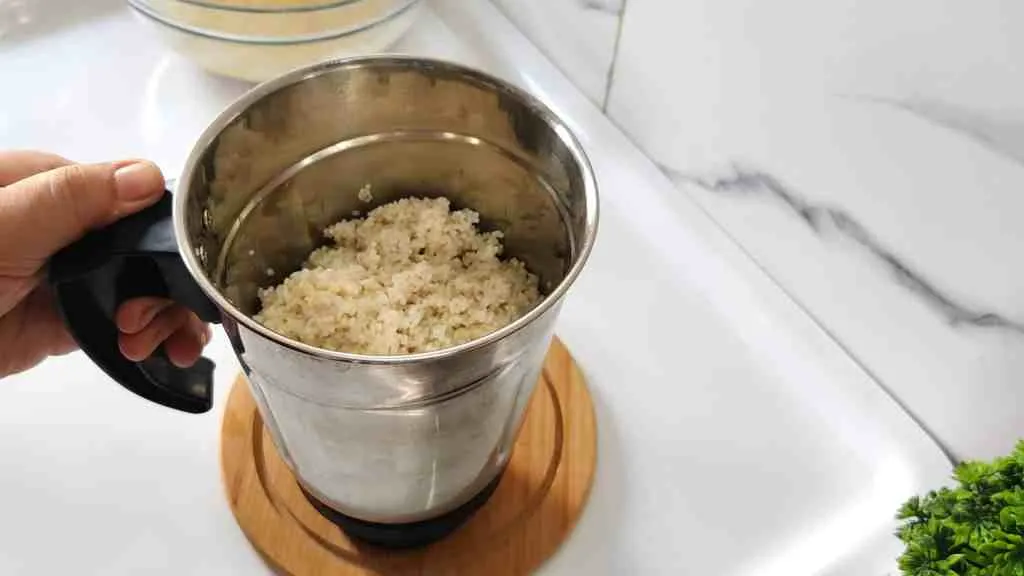
Grind the soaked ingredients
No matter your method of grinding the batter, your finished batter should be a slightly thicker than pancake batter and should have a little bit of rice grit that you feel when you rub it between your fingers.
Fermentation
Now add in a tsp of live yogurt or curd and mix in well. This will kick-start the fermentation.
Leave the batter to ferment in a warm place for 6-7 hours or overnight to achieve a well fermented batter.
After fermentation, your batter should have tiny air pockets in it, and may have increased in volume. With vigorous fermentation, the batter can overflow its container. So keep it in a large vessel.
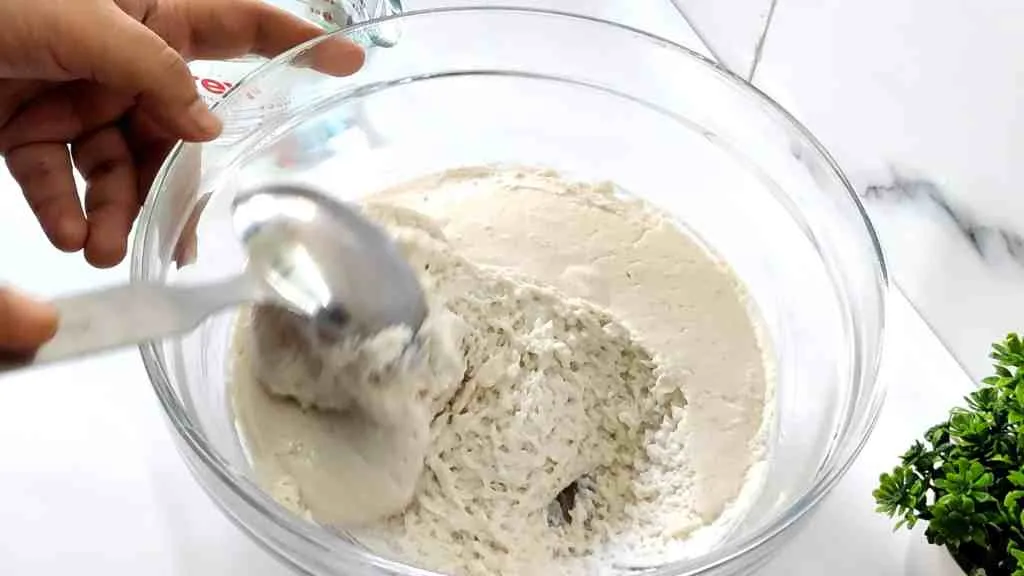
Fermented batter
Stir this fluffy fermented batter until it becomes flatter and pourable from a spoon or ladle. You may need to add water to achieve this consistency.
You can store this batter in the fridge for two to three days once the initially fermentation has been completed.
Make Paper Dosas
Heat a non-stick pan, cast iron pan, or carbon steel tawa or skillet to medium temperature and use a silicone brush or a paper towel to spread some ghee or coconut oil on the pan. I also like to use a spray coconut oil for convenience.
Once the pan is hot, add a few drops of water to the center of the pan to flash cool the center, which is usually the hottest over the burner. This is an important step as you need a hot pan to cook crispy dosa, but you need to momentarily cool it in order to get a nice thin spread. If you skip this step, the batter will cook before you can spread it and result in a clumpy dosa.
Now pour a ladle of the batter over the pan and slowly start spreading it in circular motion.
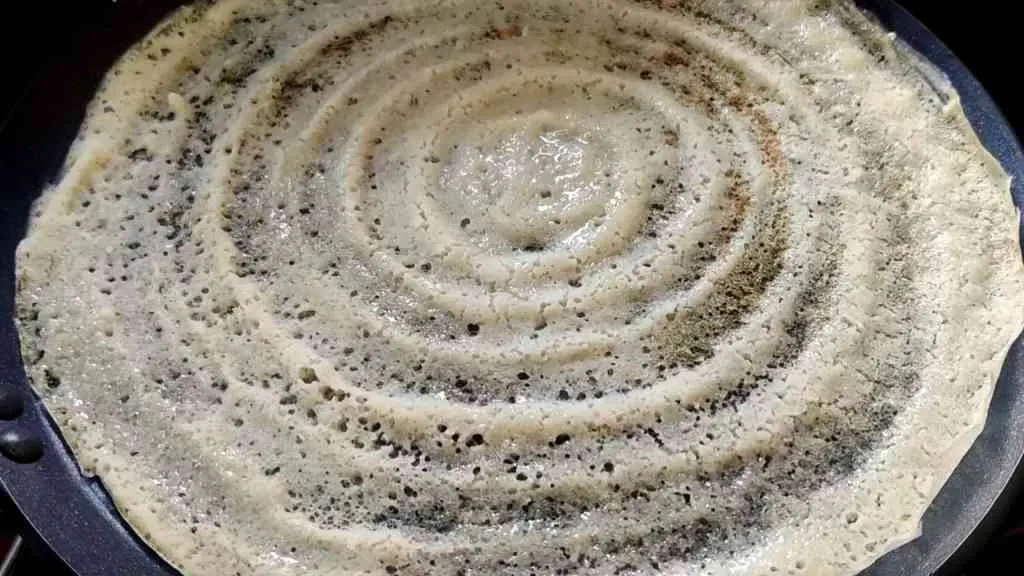
Dosa spread thin in a circular fashion
On medium heat, cook your dosa and drizzle some coconut oil or ghee with a spoon over the top. You can also spray it with coconut oil.
Keep cooking until the base of the dosa turns golden brown and the edges begin to lift off the pan. The more golden your base gets, the crispier your dosa is.
Using a spatula, fold the dosa in half.
Take your dosa off the pan and serve it hot!
Making Cone Dosa
If you want to make a cone-shaped dosa, instead of folding it over, take a pair of scissors and cut the dosa from one edge to the center like the minute hand on a clock. Now start rolling the cut edge of the dosa around the circumference. This will roll up into a cone that can be filled with potato masala or whatever you desire! This is hard to explain with words, so take a look at my video demonstration for an example.
Cone shaped dosa
Serving
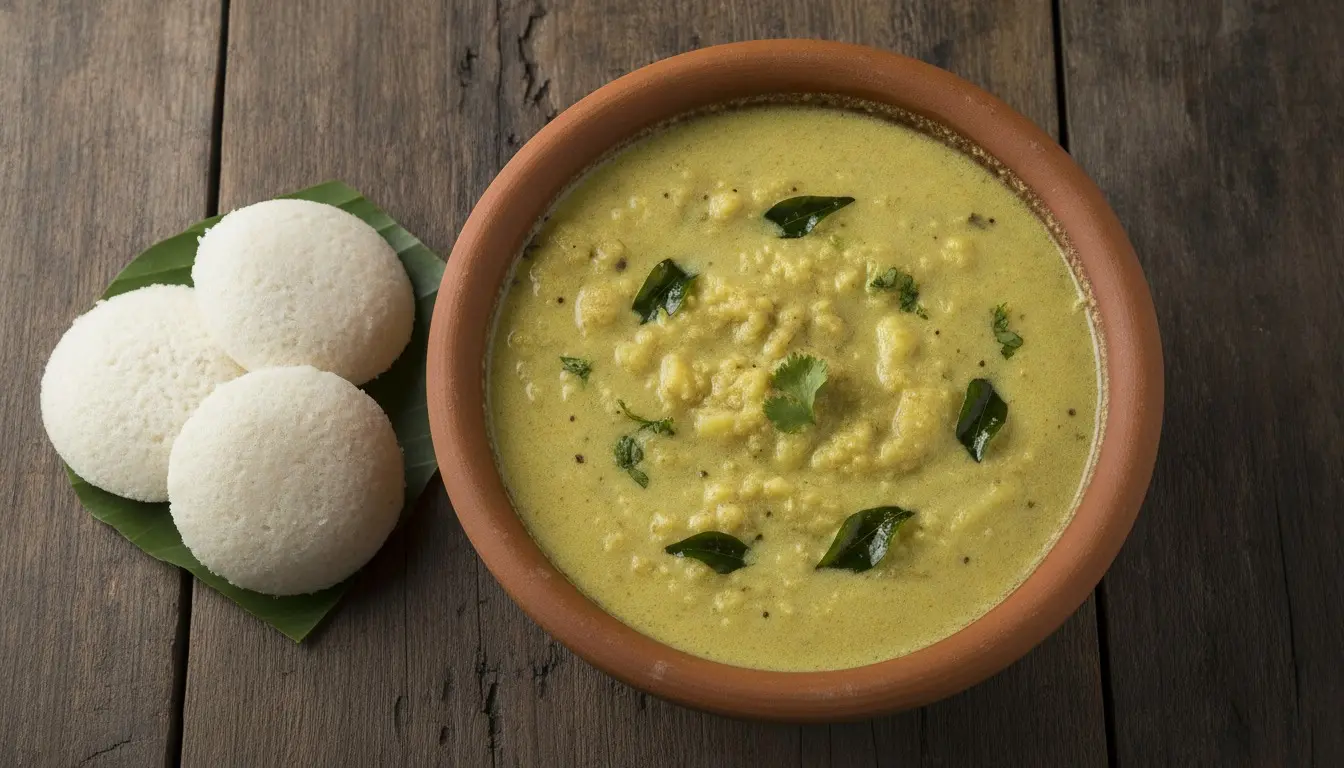
As always, serve your dosas with lots of love, and they will taste even better. Apart from love, you can serve sambar or coconut chutney alongside your crisp paper dosas and enjoy homemade restaurant style paper dosas.
FAQs
What is the difference between paper dosa and plain dosa?
Paper dosas are paper thin. They are so flaky and buttery, it’s hard to believe. A plain dosa can be just as delicious, but there is a little more softness and substance with every bite. It’s like the difference between a potato chip and a french fry. Both different and both delicious!
What is the secret of crispy dosa?
The secret is in the ratio of rice to dal. The 4:1 idli rice to urad dal ratio usually does the trick. The more dal you add, the heavier the end dosa will be.
Can you make dosa on nonstick pans?
Yes, you can! This is often the easiest way for beginners to get started with dosa. Dosa’s number one favorite thing to do, is to stick to unseasoned pans. A non-stick pan does away with this worry. But to get a true authentic taste and texture, you should use a well seasoned carbon steel or cast iron tawa or pan.
Why is my dosa soft and not crispy?
The main reason for soft dosa is spreading the batter too thick. The pan needs to be hot to get a crispy dosa, but when you spread batter on a hot pan, the batter will cook so fast that you can’t spread it quick enough. To get around this conundrum, you can flash cool the pan with a spritz of water right before you spread the batter. Then quickly spread the batter as quick as possible to a paper thin thickness. I like to then drip ghee around the thinnest sections to create a crispy buttery consistency and flavor.
Recipe
How to Make Paper Dosa (Step by Step Guide)
Paper dosas are commonly made at restaurants, served paper thin and with a selection of chutneys. These amazing crispy dosas are so buttery and tasty. Lets see how you can make paper dosa at home!
- Prep
- 30min
- Cook
- 40min
- Total
- 70min
- Servings
- 4servings
- Calories
- 300kcal
Ingredients
- 2 cups idli rice
- ½ cup urad dal
- ½ tsp fenugreek seeds
- 1 tsp non-iodized salt
- Water
- Yogurt with live active cultures
- Coconut oil or ghee as required for cooking dosa
Instructions
- Soaking the dal and rice
- 1 Rinse your rice and urad dal thoroughly until the water runs clear.
- 2 Take 2 cups of idli rice and soak it in enough water to completely submerge the rice.
- 3 Take ½ cup urad dal, 1 tsp non-iodized salt, and ½ tsp of fenugreek seeds or methi seeds and add them to the rice mixture.
- 4 Let your rice and lentils soak for almost 5-6 hours or overnight for better results. Make sure the water covers the grains, even after they swell and suck up the water.
- Making the Batter
- 5 After 5-6 hours of soaking, add the soaked grains into a grinder jar, blender, or wet grinder. If you are using a blender, begin blending and add cold water until you get a small funnel in the center of the batter. Do not add water past this point or your batter will be too thin. If you are using a wet grinder then just add enough water to produce a fluffy smooth batter.
- 6 No matter your method of grinding the batter, your finished batter should be a little bit thicker than pancake batter, and you should have a little bit of rice grit that you feel when you rub it between your fingers.
- Fermentation
- 7 Now add in a tsp of live yogurt or curd to kick-start the fermentation.
- 8 Ferment in a warm place for 6-7 hours or overnight.
- 9 After fermentation, your batter should have tiny air pockets in it and have a fluffy consistency. You should stir this until it becomes flatter and pourable. If it doesn't pour, then mix in water.
- Cook your Dosa
- 10 Heat a non-stick pan, cast iron pan, or carbon steel tawa or skillet to medium temperature and use a silicone brush or a paper towel to spread some ghee or coconut oil on the pan. I also like to use a spray coconut oil for convenience.
- 11 Once the pan is hot, add a few drops of water to the center of the pan to flash cool the center, which is usually the hottest over the burner. This is an important step as you need a hot pan to cook crispy dosa, but you need to momentarily cool it in order to get a nice thin spread. If you skip this step, the batter will cook before you can spread it and will clump up.
- 12 Now pour a ladle of the batter over the pan and slowly start spreading it in circular motion. You want to create as thin of a spiral shaped spread as possible. If you spread it too thick, it won’t be crispy!
- 13 Now on medium heat, cook your dosa and drizzle some coconut oil or ghee with a spoon over the top. You can also spray it with coconut oil.
- 14 Keep cooking until the base of the dosa turns golden brown and the edges begin to lift off the pan. The more golden your base gets, the crispier your dosa is.
- 15 Using a spatula, fold the dosa in half.
- 16 If you want to make a cone-shaped dosa, instead of folding it over, take a pair of scissors and cut the dosa from one edge to the center like the minute hand on a clock. Now start rolling the cut edge of the dosa around the circumference. This will roll up into a cone that can be filled with potato masala or whatever you desire! This is hard to explain with words, so take a look at my video demonstration for an example.
- 17 Take your dosa off the pan, and it is ready to be served.