How to Make Adai Dosa (Healthy Recipe)
South Indian cuisine is no stranger to the miracle of flatbreads. Homemade batters, heavy on proteins, carbohydrates, and other nutrients, create delicious pancake like creations that soak up delicious curries and fill you up with pure satisfaction. As with all South Indian cuisine, there is usually a spicy twist, and this adai dosa recipe is no exception. Adai dosa is the perfect breakfast; filling, healthy, savory, and delicious. It has earned its place as a king among breakfast recipes in South India.
The most famous flatbread among them all is called ‘Dosa’, but you will be surprised to know that Dosa itself has countless versions of it. Today we are going to make a tasty, healthy, and nutritious Adai Dosa Recipe. The beauty of Adai is that it has two lives. On day one, Adai is a thick and spicy pancake made from rice, dal, spices, and vegetables. On day two, the leftover dosa batter is fermented, thinned out, and transformed into a crispy, crunchy, and savory dosa.
This south Indian recipe is prepared with different types of lentils and rice. South Indians love to eat Adai with different types of chutneys (coconut chutney and tomato chutney, etc.) or sambar. It’s an absolutely comforting meal with a whole pack of nutrition.
So without wasting time let’s move on to our famous and most delicious ‘Adai Dosa Recipe’.
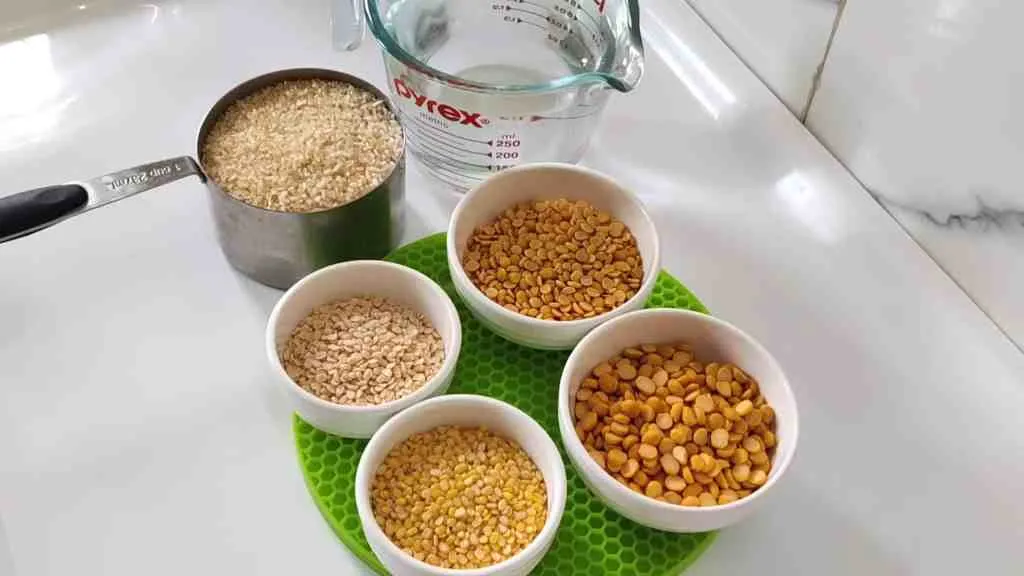
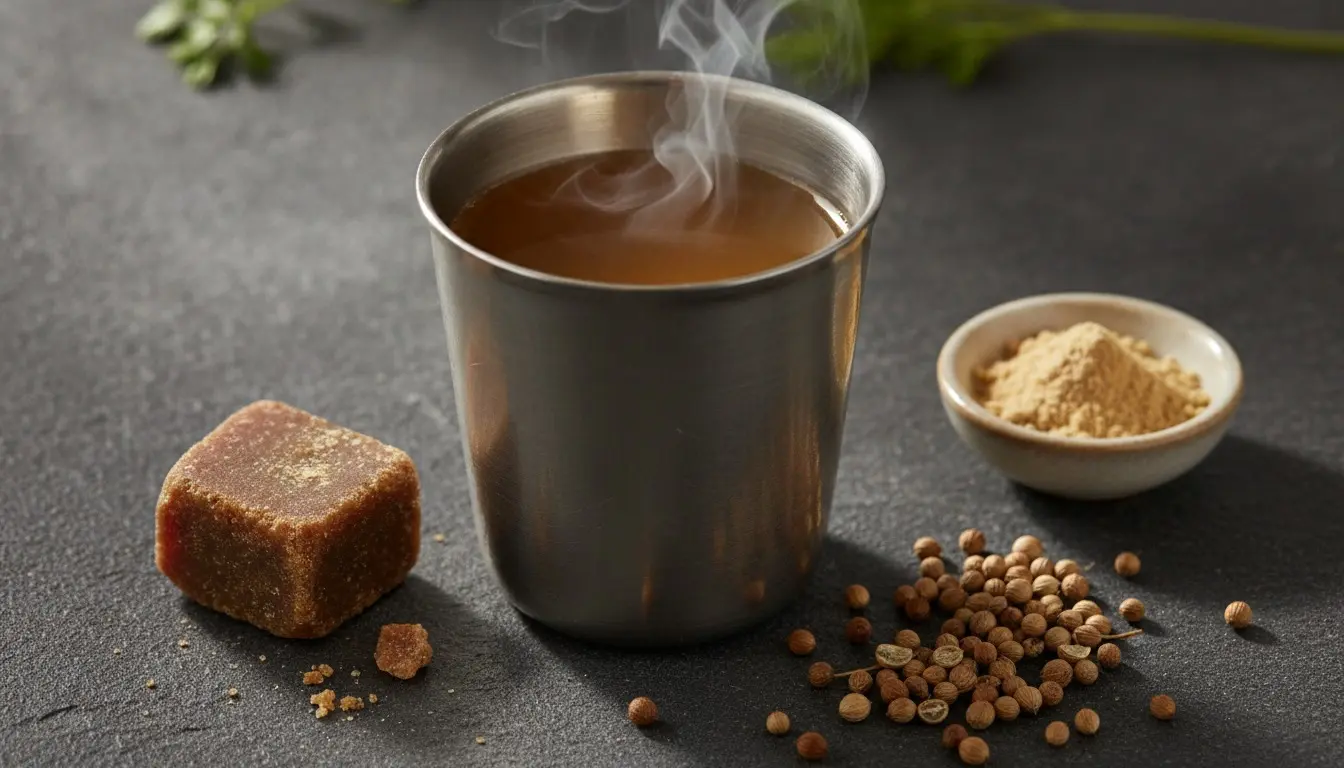
Dals and Rice used to make Adai
Ingredients for Adai Dosa Recipe
Dals
Urad dal, chana dal (Bengal gram), moong dal, tur dal (pigeon pea or tuvar dal).
Raw rice
Idli rice or any short grained parboiled rice
Spices
Cumin seeds, dry red chilies, curry leaves, turmeric powder, asafoetida, and fennel seeds.
Veggies
Green chilli, ginger, coriander leaves.
Others
Water, ghee, and salt.
For exact quanitites, look at our recipe card.
Preparation
Before making our dosa recipe, some necessary preparations are needed.
-
Wash off your rice and dals until the water runs fairly clear.
-
Soak the rice and dal in 4 cups of water overnight. There should be enough water to soak the dals completely.

Soak the rice, dal and red chilis
- Coriander leaves and green chilies should be finely chopped.
Making our Adai Dosa Batter
I’m mentioning the dosa recipe with step-wise pictures, so you can see the difference between the thickness of adai batter and dosa batter
- Add your soaked lentils and rice into a blender or grinder.
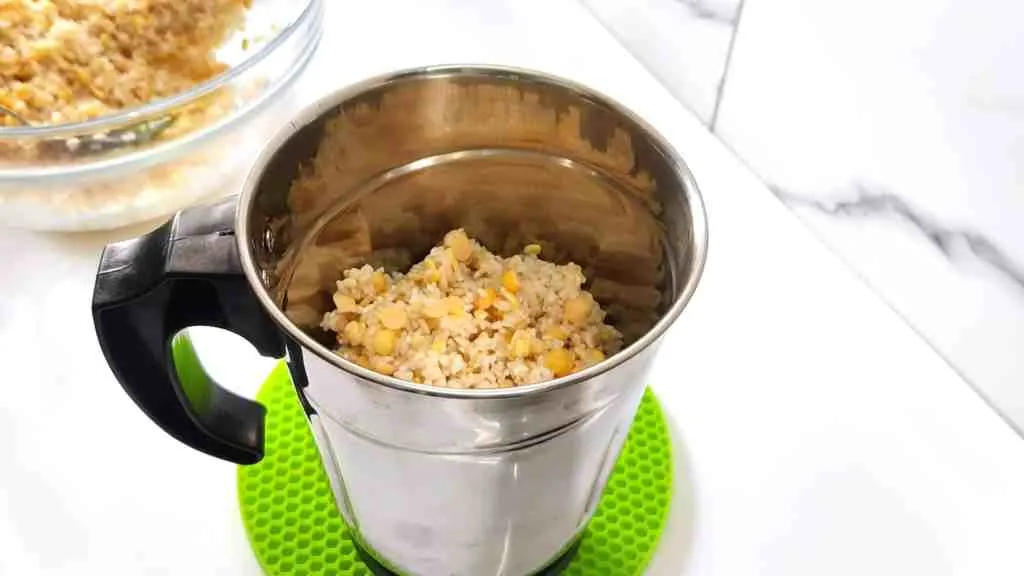
Add dal and rice to blender
- Add dry red chilis, cumin seeds, fennel seeds, green chilies, turmeric powder, curry leaves, and ginger to the blender.
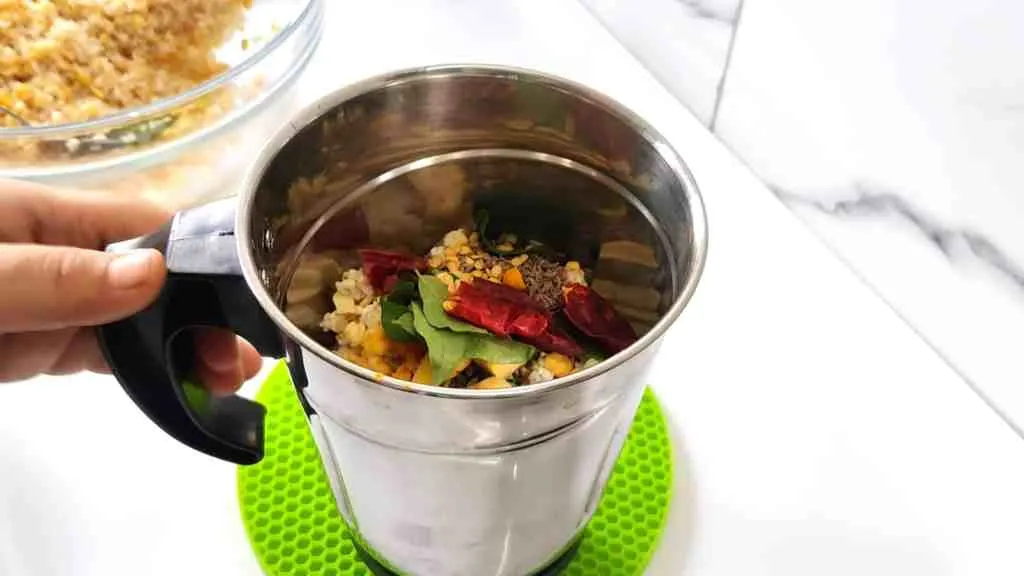
Add in spices
-
Blend all the ingredients until a thick course paste is obtained. It should be slightly thinner than mashed potatoes and still pourable. It should not be as thin as pancake batter.
-
Scoop out all the batter into a large bowl.
-
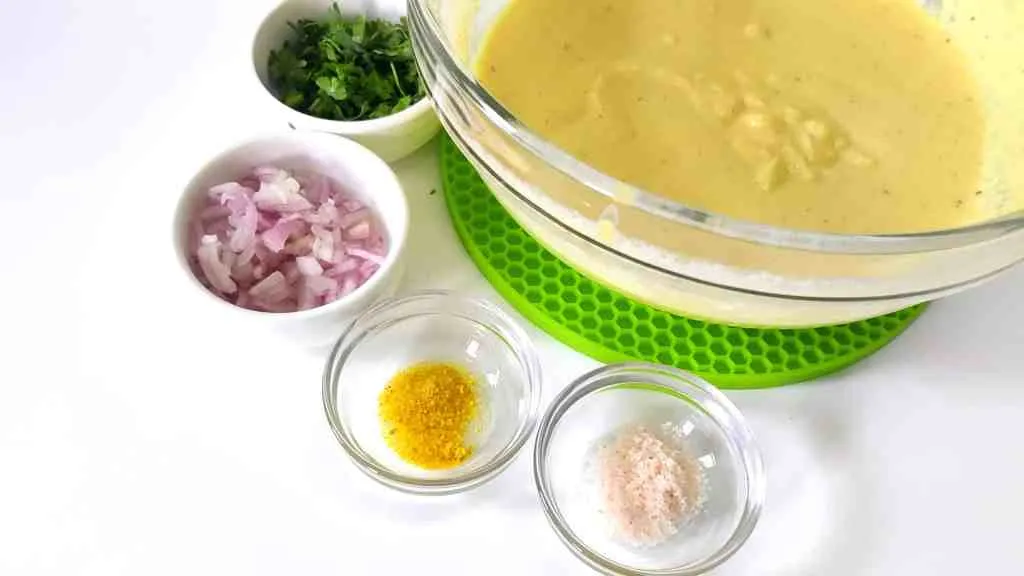
Add salt according to your taste preferences and one pinch of asafoetida to the batter. Leave out the asafoetida for a gluten-free version.
-
Add chopped small onions and coriander leaves in small amounts only to the portion of the batter that you plan to cook today.
Day One Adai Dosa
Now it’s time to cook our adai dosas, but before that keep in mind that Adai dosas are not cooked at high heat like a paper dosa, they will burn on one side while the other side will not be completely cooked.
-
So keep your stove at medium heat and put your pan or Tawa on it.
-
Before pouring our batter, we will sprinkle a little water on the hot Tawa to flash cool it a couple of degrees. This allows the pan to rapidly cool enough to spread the batter without it instantly cooking.
-
Now pour a big spoon of the batter into the middle of the pan. Put the back of the spoon in the center and start swirling it in a circular motion, pushing the batter from the center to the edges of the pan/tawa. Go nice and slow and flatten it evenly.
-
The batter should remain 1/4 inch thick on the pan surface. This is the difference in Adai dosa and paper dosa.
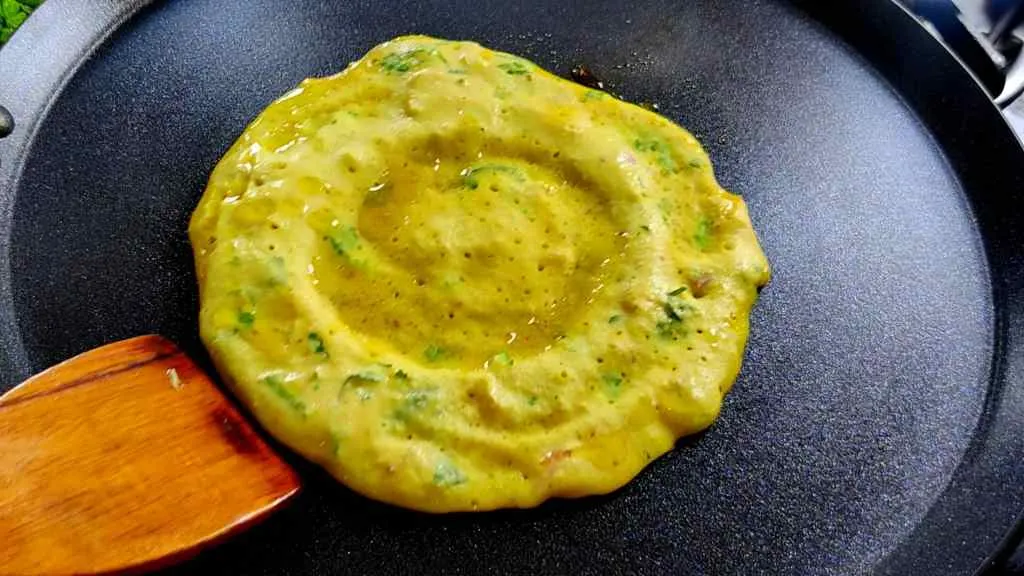
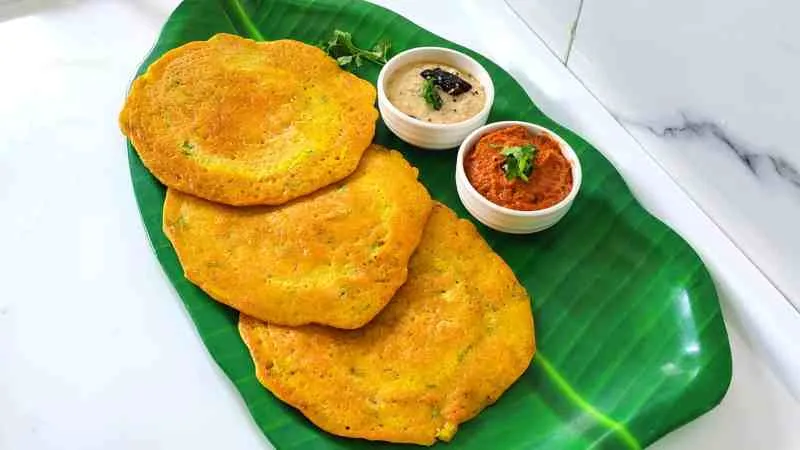
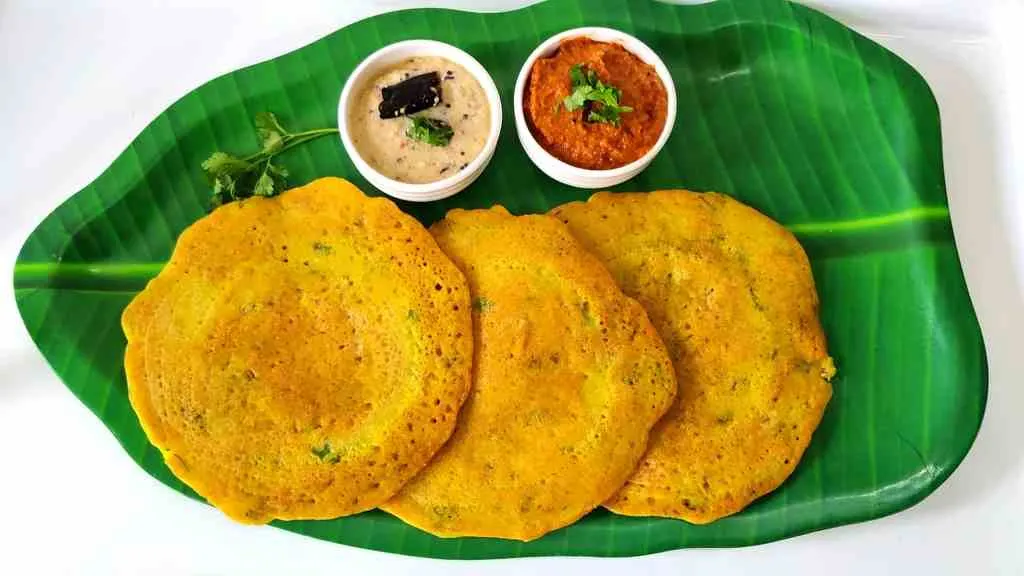
Day 1 Adai dosa
-
Now add a teaspoon of ghee so that our adai does not stick to the tawa.
-
When it turns golden brown on the bottom side try to detach it slowly with the help of a spatula. Flip it and cook the other side to the same level.
Make as many dosas as you want for now. The rest of the batter can be processed for day two in the next step!
Fermentation
- Take the remaining batter (that you did not add onions to), and add 1/4 cup to 1 cup of water, depending on how much batter you have left.
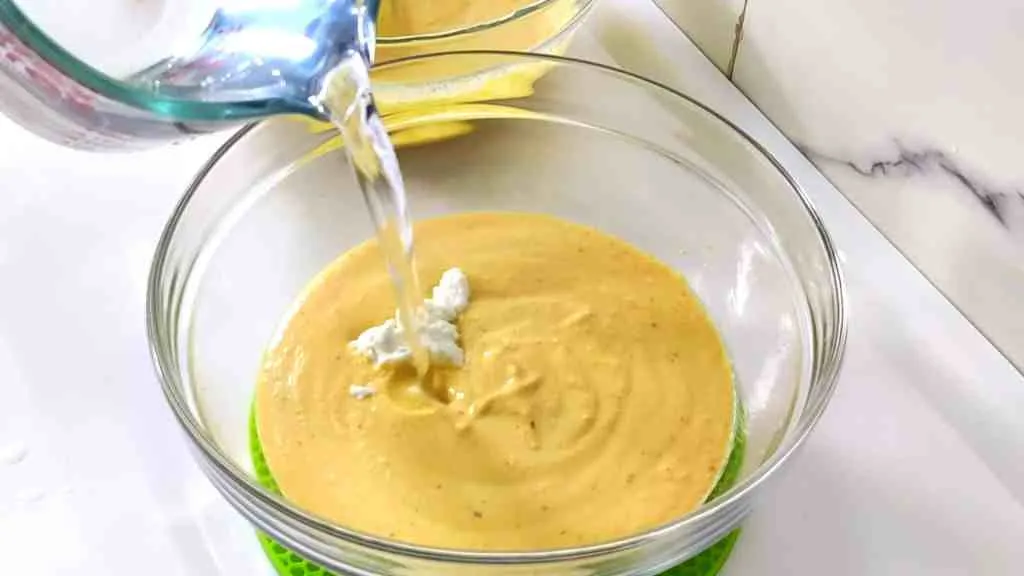
Ad water and yogurt
- You want the batter to be slightly thinner than pancake batter. Mix this batter well, add 1 tsp of yogurt, and keep covered it in a warm spot in your kitchen
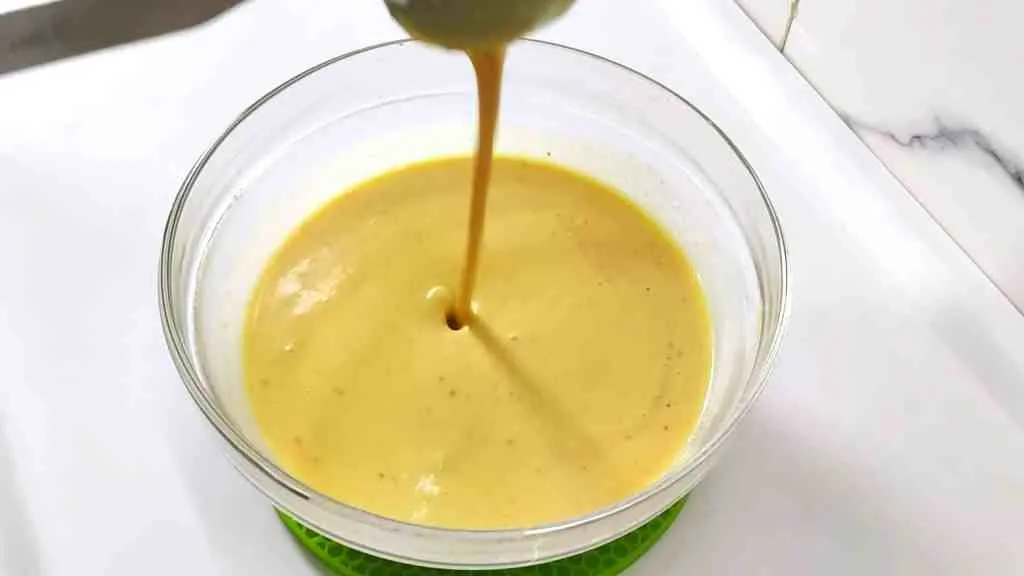
Thinned out batter ready to ferment
Magical Day Two of Adai
Day two is the day that Adai really comes to life!
- This batter can then be spread in a very thin layer on a medium hot pain with the same spoon swirling technique we used prior. Drizzle ghee over the top as it cooks.
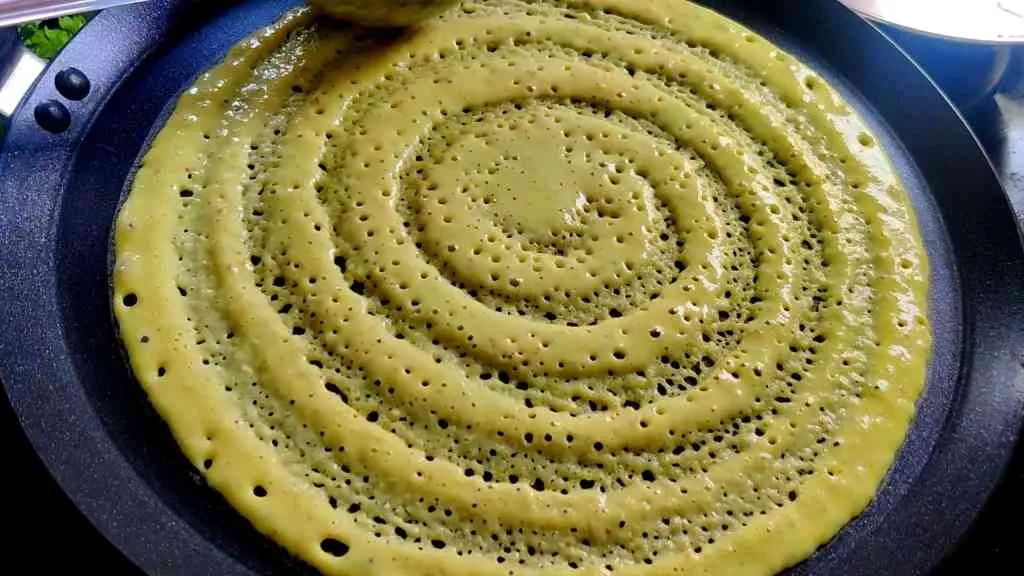
Spread the Adai thinly
- As the dosa cooks, you will see golden brown spots on the underside and the dosa edges will begin to lift off the pan. At this point, give it another minute, then fold it over, and serve.
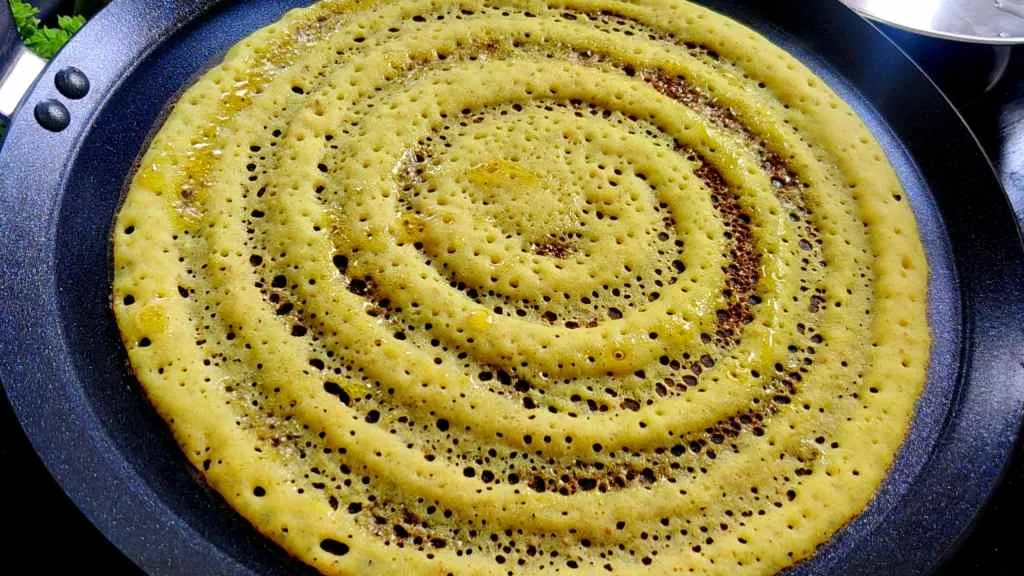
Browned bottom
- This crispy flavorful Adai will enchant even the most skeptical of guests.
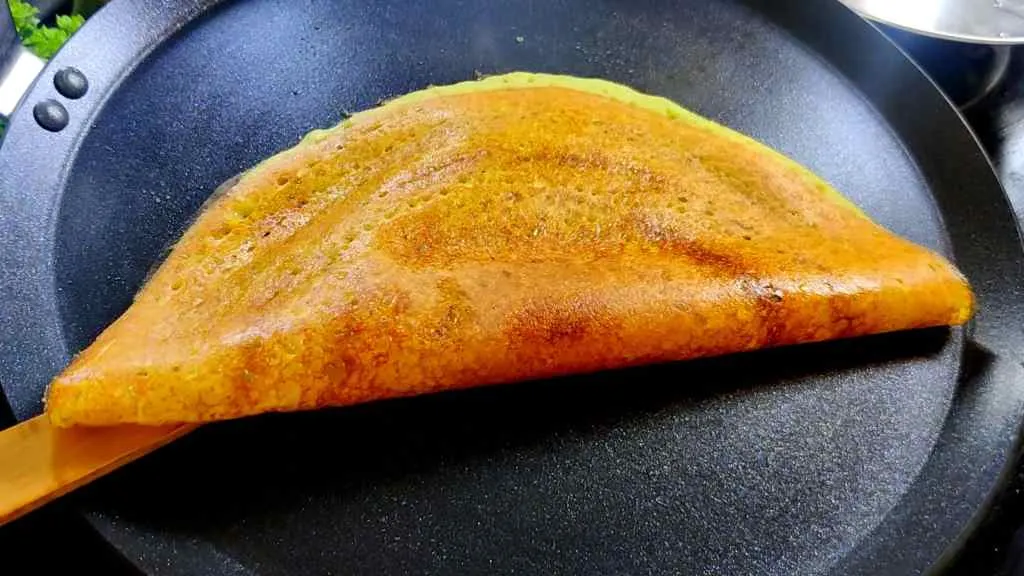
Cripsy Adai Dosa!
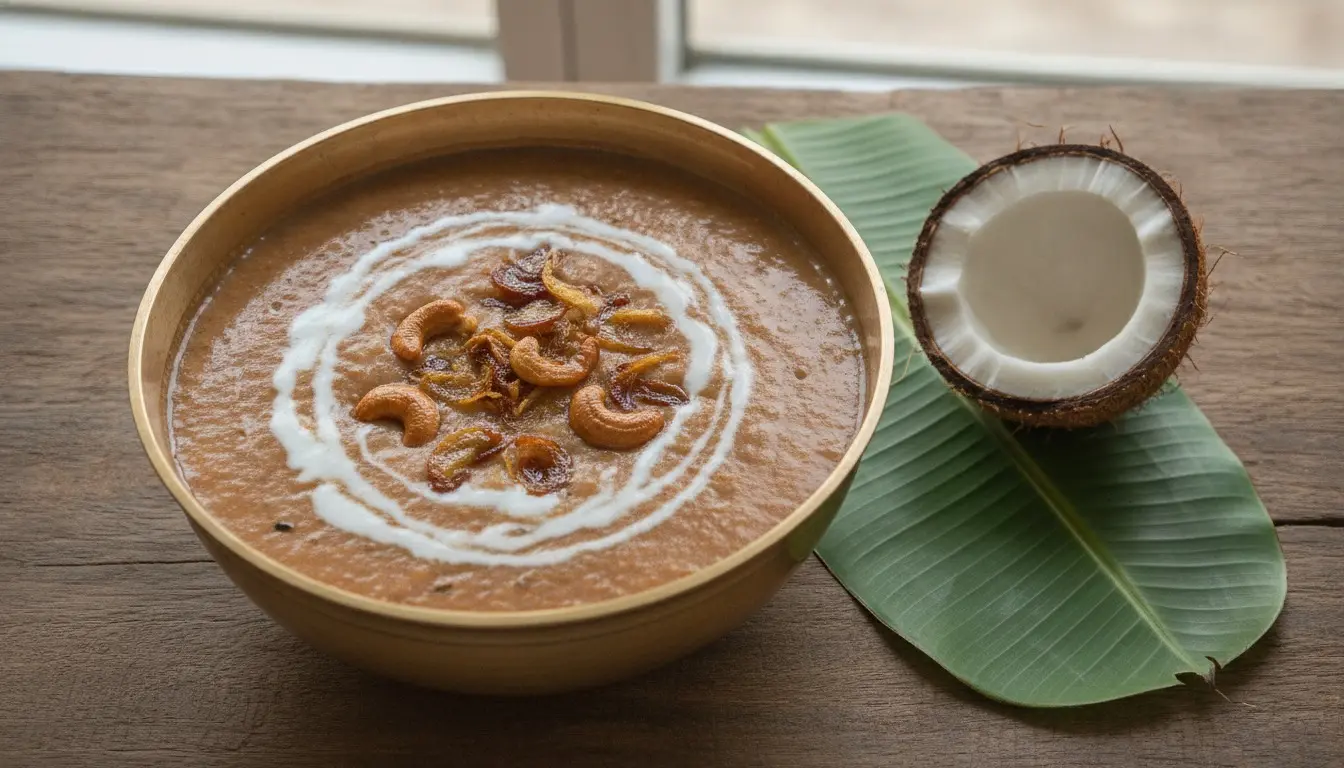
Serving
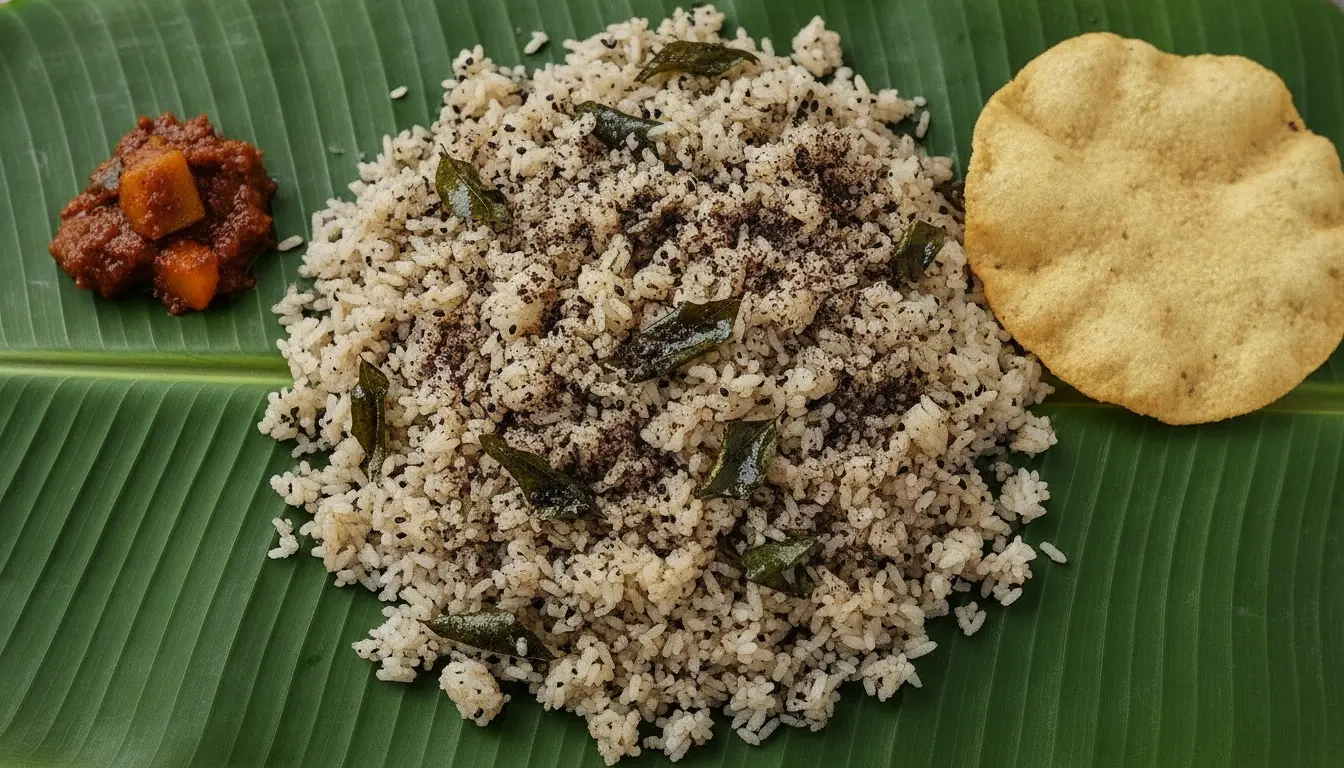
Serve your dosa when it is hot and fresh because after some time it will lose its crispiness and will start to sag. Enjoy it as a healthy breakfast with coconut chutney and tomato chutney.
FAQs
What if a Tawa pan is not available?
If a traditional tawa pan is not available then a cast iron pan, carbon steel pan, or a non-stick one can also be used. A good seasoned surface is required for any pan that does not have a non-stick surface on it.
Is there a difference between regular dosa batter and adai dosa?
Yes, in Adai dosa we use a combination of dals, rice, and vegetables and create a thick flatbread with a savory filling flavor. On the first day, Adai is not fermented. A regular dosa batter consists of a thin batter of fermented urad dal, rice, and fenugreek seeds.
My Adai are sticking to the pan! Please help?
Either your pan is not seasoned well or it is not hot enough. We rely on a hot surface to caramelize the outer later of the Adai which then naturally separates from the pan. If the pan is not hot enough, this caramelization will not occur and the dosa will stick. But be careful; if the pan is too hot, the Adai will burn before the inside is cooked.
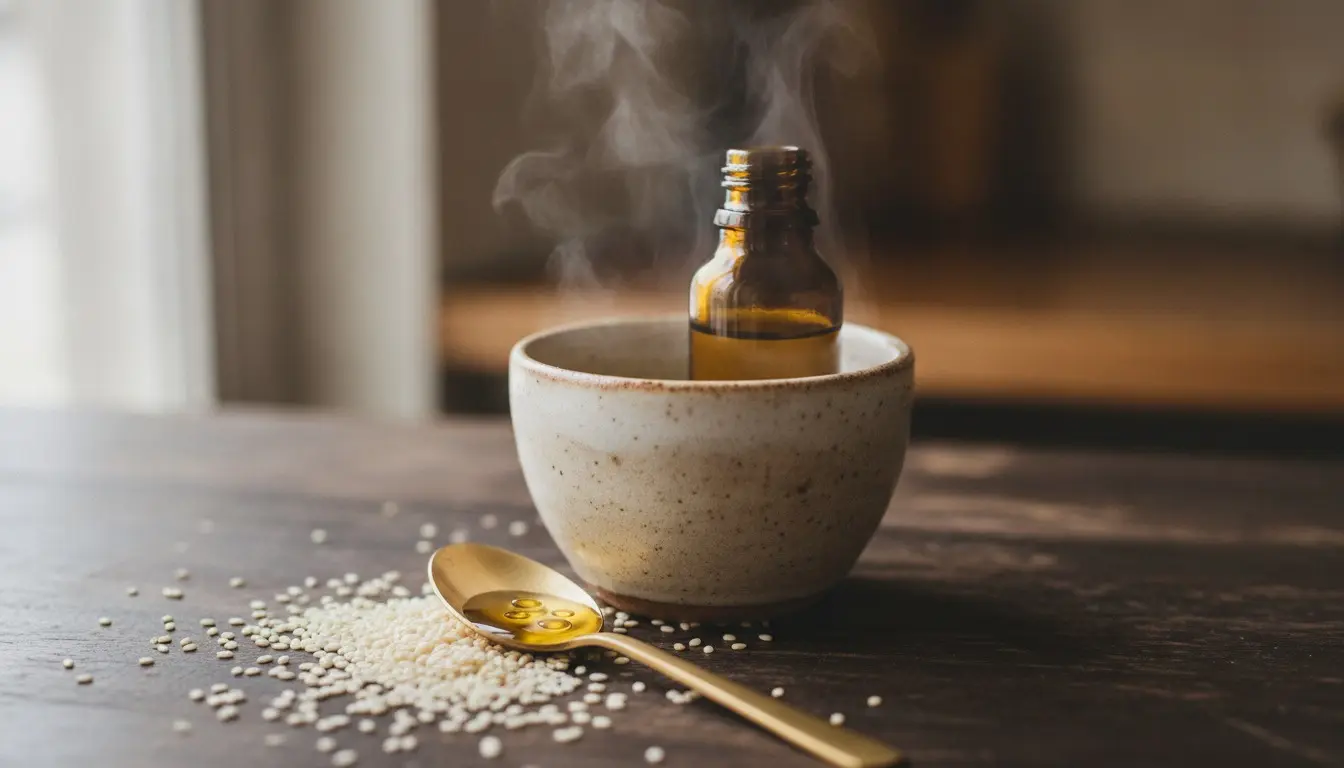
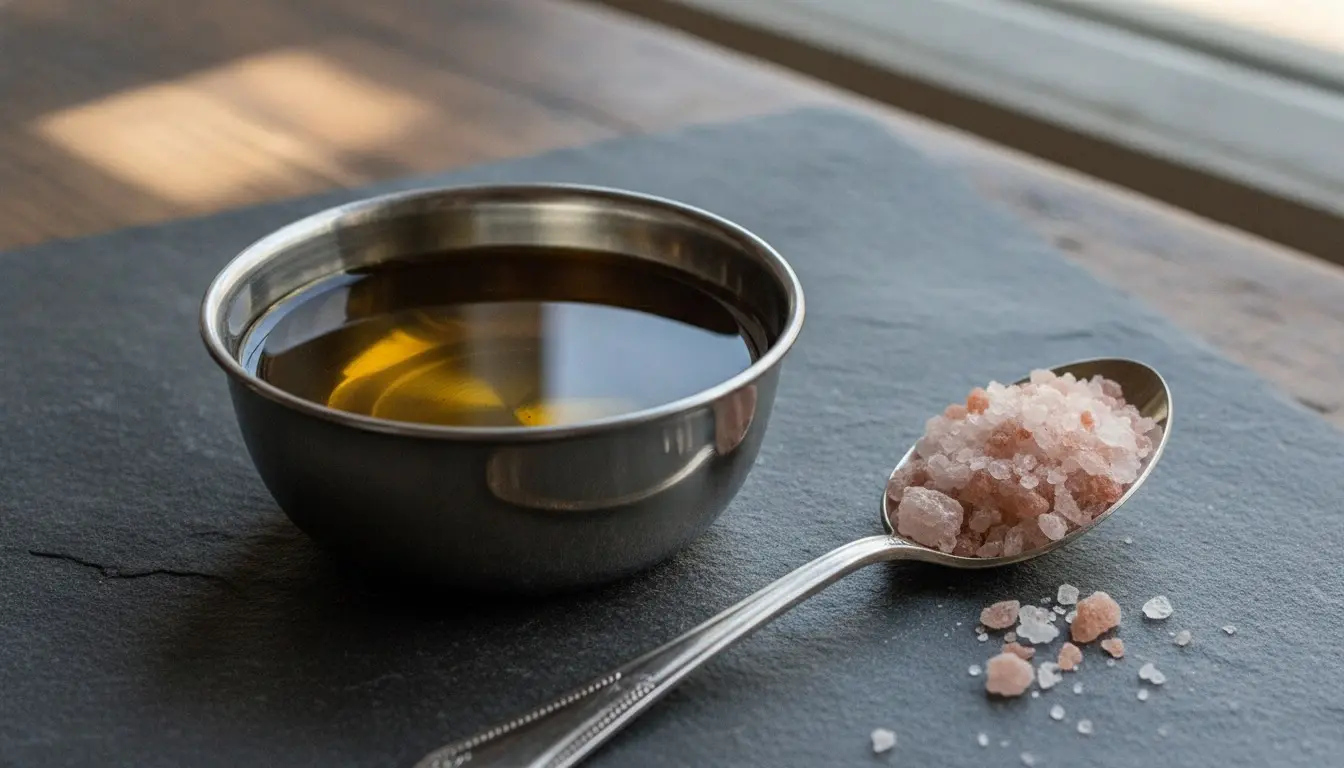
How do I season my pan?
To season your cast iron or carbon steel pan, coat it with a low smoke point ghee like flax seed oil or sesame oil and get it smoking. Once it is smoking, cool it off and then wipe it down with a paper towel. Repeat this process 3 times. This polymerizes a not-stick coating of ghee on the surface of the pan.
Recipe
How to Make Adai Dosa (Healthy Recipe)
A protein-rich South Indian adai dosa made from mixed lentils and rice, crisp outside and hearty inside.
- Prep
- 30min
- Cook
- 20min
- Total
- 70min
- Servings
- 4servings
- Calories
- 300kcal
Ingredients
- 1/4 cup Toor dal (pigeon pea)
- 1/4 cup chana dal (Bengal gram)
- 2 Tbsp moong dal (yellow lentil)
- 2 Tbsp urad dal (split black gram)
- 1 1/2 cup idli rice
- 2 to 4 dry red chilies
- 1 to 2 green chilies
- 1/2 tsp turmeric powder
- 1 tsp cumin seeds
- 1 tsp fennel seeds
- ¼ tsp asafoetida (leave out for gluten-free recipe)
- 1 small piece of ginger
- Coriander leaves
- 1 tsp salt
- ghee
Instructions
- Preparation
- 1 Add your soaked lentils and rice into a mixer jar. If you don't have a mixer jar then no problem, a regular blender will do the job just as fine.
- 2 Add dry red chilis, cumin seeds, fennel seeds, green chilies, turmeric powder, curry leaves, and ginger.
- 3 Blend all the ingredients until a thick coarse batter consistency is obtained.
- 4 Separate out the amount of batter you plan to cook today and add in onions and coriander leaves
- 5 Add salt according to your taste preferences and one pinch of asafoetida to the batter.
- Day 1 Adai
- 6 Now pour a big spoon of the batter into the middle of the pan and spread it to ¼ inch thick. Put the back of the spoon in the center and start swirling it in a circular motion. The end result should be thick (¼ inch), not thin like a classical dosa
- 7 Now add a tsp of ghee so that our Adai so that it does not stick to the tawa.
- 8 When it turns golden brown from the lower side, try to detach it slowly with the help of a spatula. Flip it once and cook the other side evenly.
- 9 With the remainder of the batter that you do not plan to use today, add 1 tsp of live yogurt and ½ cup to 1 cup of water. You can blend or mix this until you get a thin batter similar or slightly thinner than pancake batter.
- 10 Place in a warm spot overnight.
- Day 2 Adai
- 11 On day 2, the batter should be well fermented. Now take a non-stick pan or well seasoned skillet / tawa and heat it to medium-high heat.
- 12 If you are using a cast iron or carbon steel skillet, spread ghee evenly over the surface.
- 13 Take a scoop of batter with a ladle, and spread the batter thinly in a spiral pattern to create a more classical looking dosa.
- 14 Add ghee around and over the top of this thin adai dosa.
- 15 Once the bottom of the dosa shows golden brown spots and the edges lift, you can fold it over and serve!